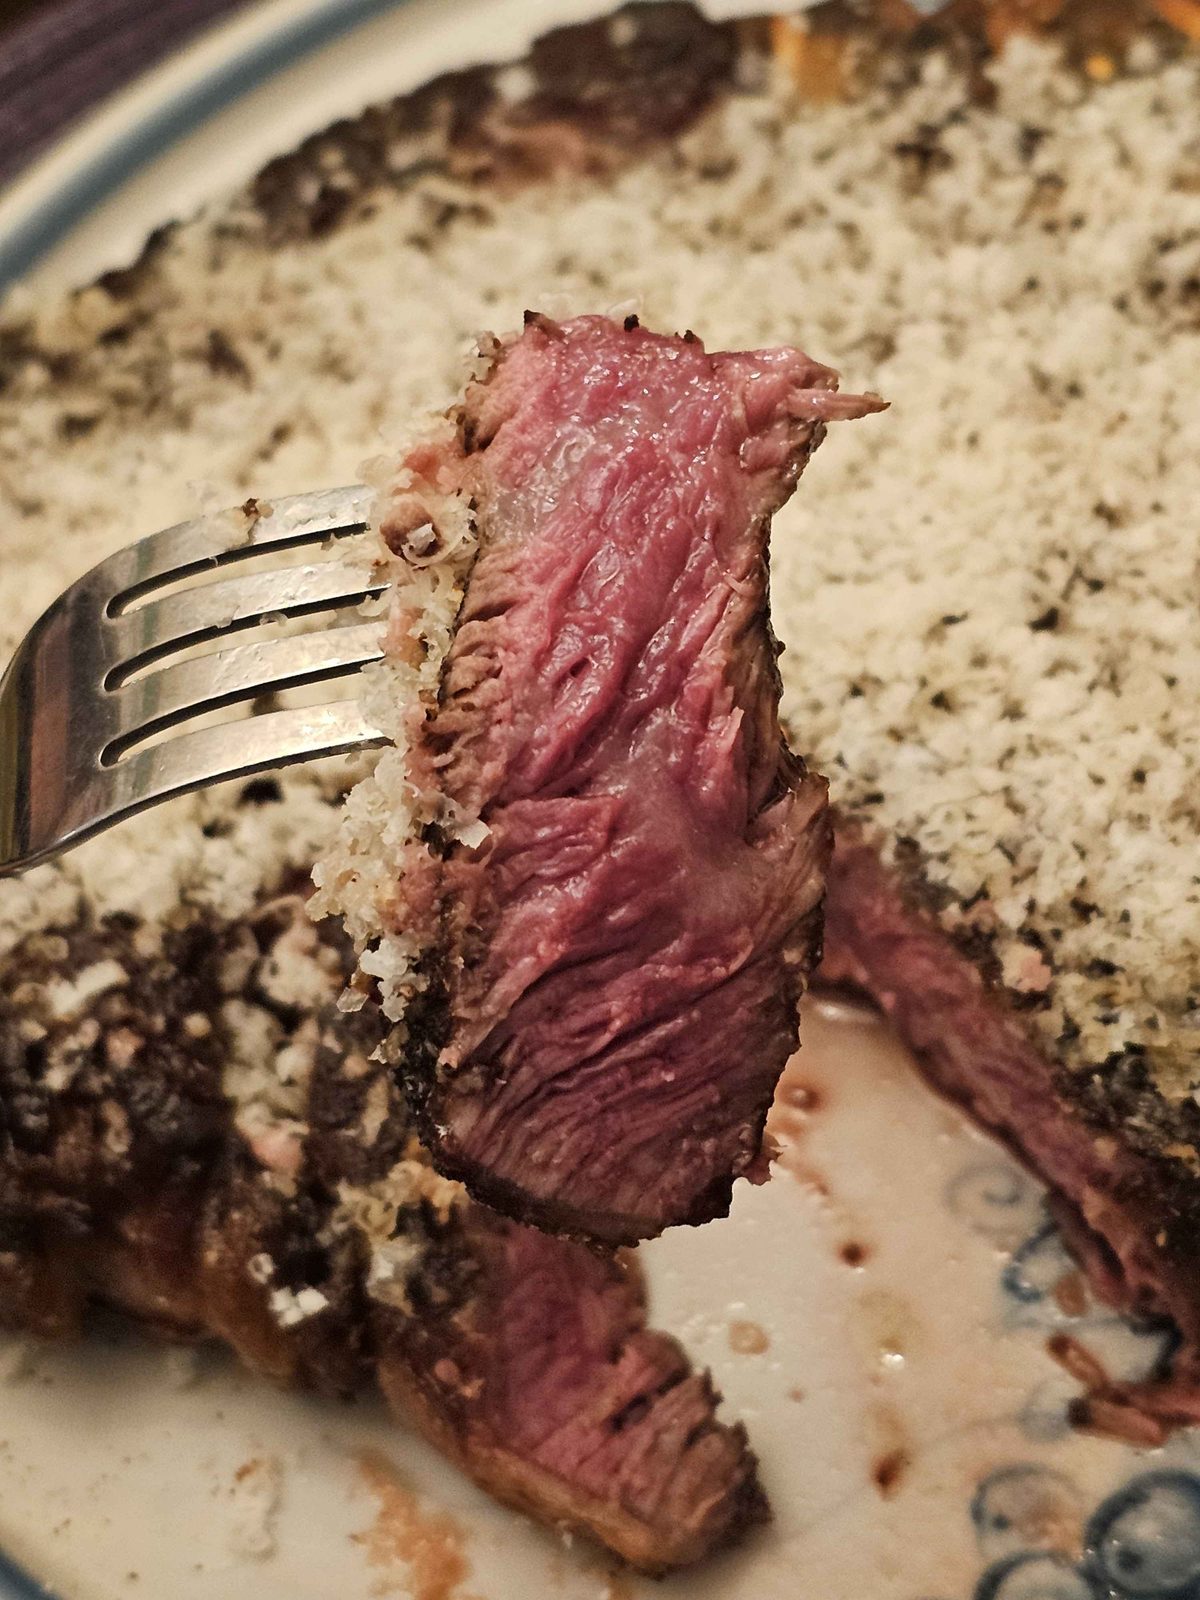
The 666 Degree Steak
A complete guide to selecting, seasoning, and cooking steak the way I do it now
You can take this at face value, follow the short recipe below, and decide for yourself. Or you can keep reading the full justification. Either way works.
666 Degree Steak — Concise Recipe
Result: Rare+ (hot red center).
Thickness that works best: ¾" to just under 1".
Ingredients
- One well-marbled steak (Delmonico/ribeye preferred; strip, T-bone, or filet also work)
- Maldon salt
- Fresh cracked black pepper
Equipment
- Well-seasoned cast iron pan
- Laser thermometer
- Paper towels
- Cooktop burner capable of 12,000–18,000 BTU
Method
- Pull the steak from the fridge 45–60 minutes before cooking. Wrap it in a single layer of paper towels. Change the paper towels every 10–15 minutes (or sooner if they become saturated). The steak must be bone-dry before it hits the pan.
- Place a clean, dry, well-seasoned cast iron pan on the burner. Heat it until the surface reads 650–700 °F on a laser thermometer (I jokingly call the sweet spot 666 °F). At 18,000 BTU this usually takes about 8 minutes (3 medium, then 5 high). Open windows or run a box fan — it will smoke. Do not add any oil, butter, or fat.
- Place the completely dry, unseasoned steak in the pan. Cook 4 minutes total, flipping every 60 seconds.
- Remove the steak and plate it hot-side up. Immediately season with a liberal amount of Maldon salt and fresh cracked black pepper.
- Eat. The 2–3 minutes between pan and first bite is all the rest it needs.
That is the entire method. Read the next sections for seasoning options beyond salt and pepper, meat selection, and why this works. Happy cooking!
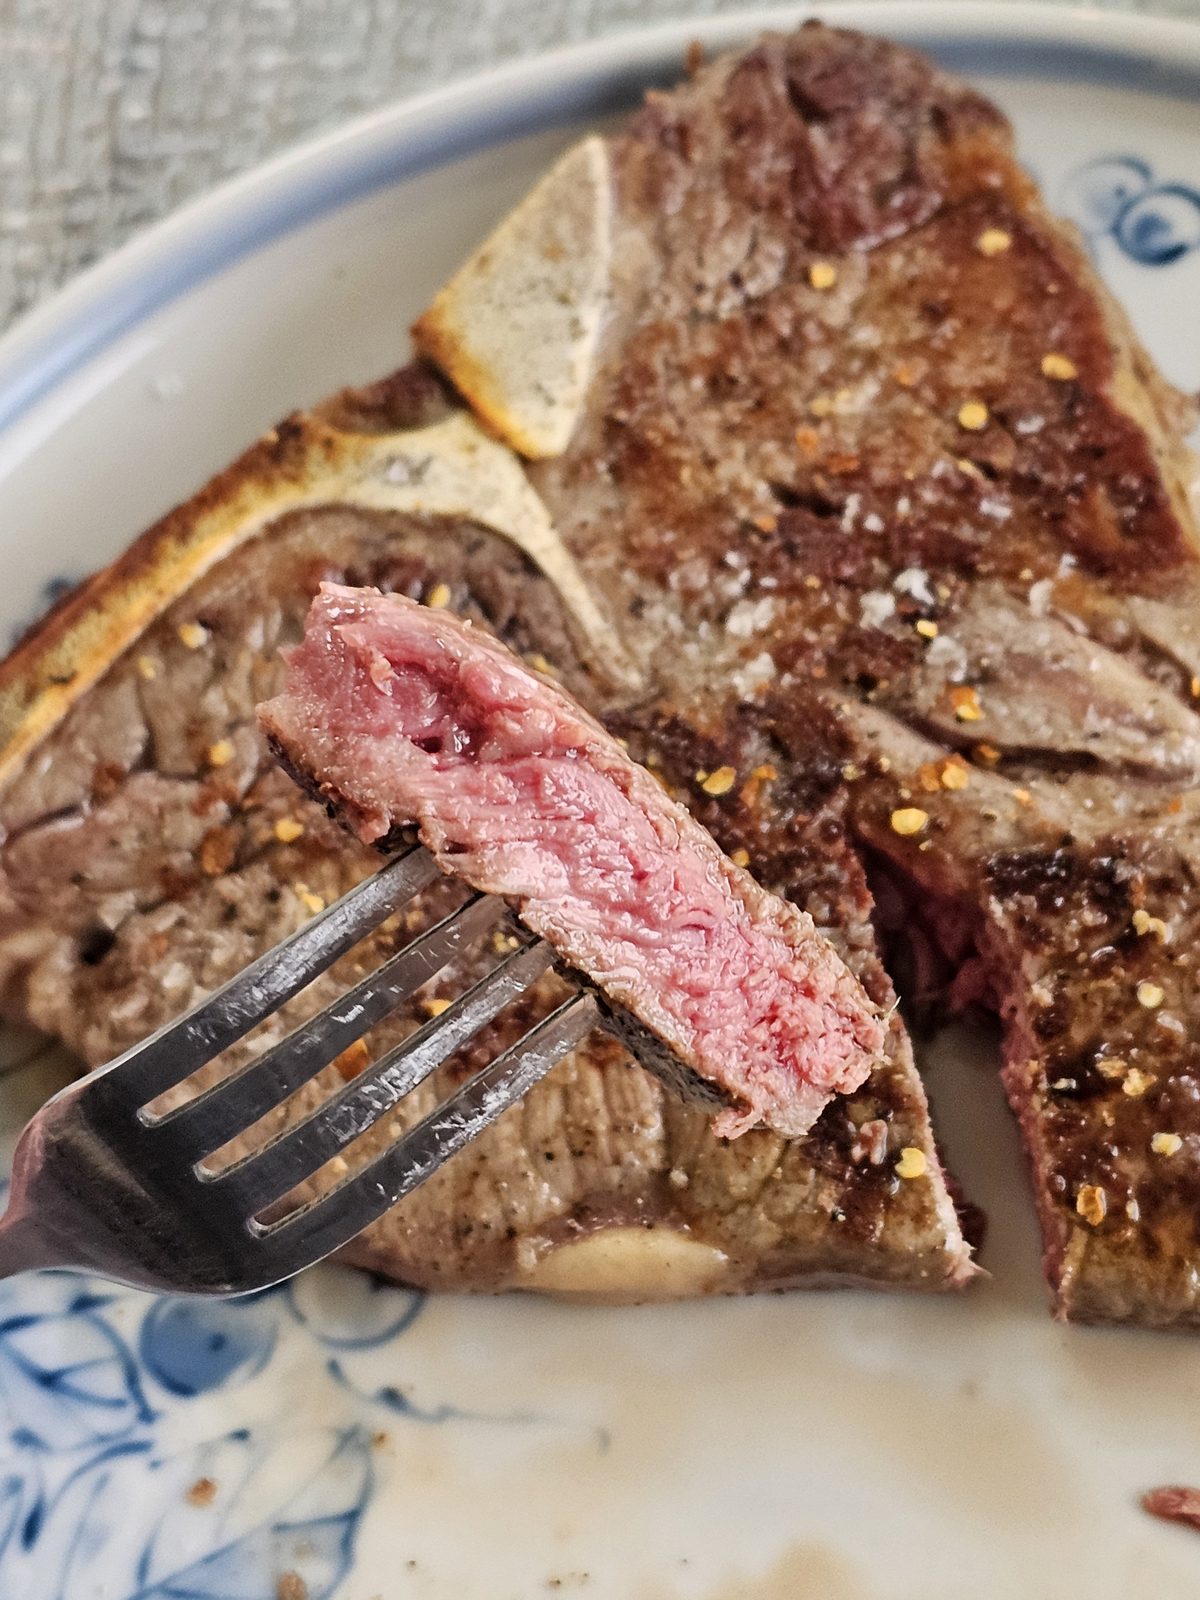
Highlight Seasoning
Most seasoning blends exist to change the flavor of meat. That is useful on cheaper cuts. On a high-quality, well-marbled, dry-aged steak it is the wrong tool. Highlight seasoning is the opposite approach: it amplifies what is already there instead of covering it up.
Apply these after the steak comes out of the pan.
Preferred combinations (in order)
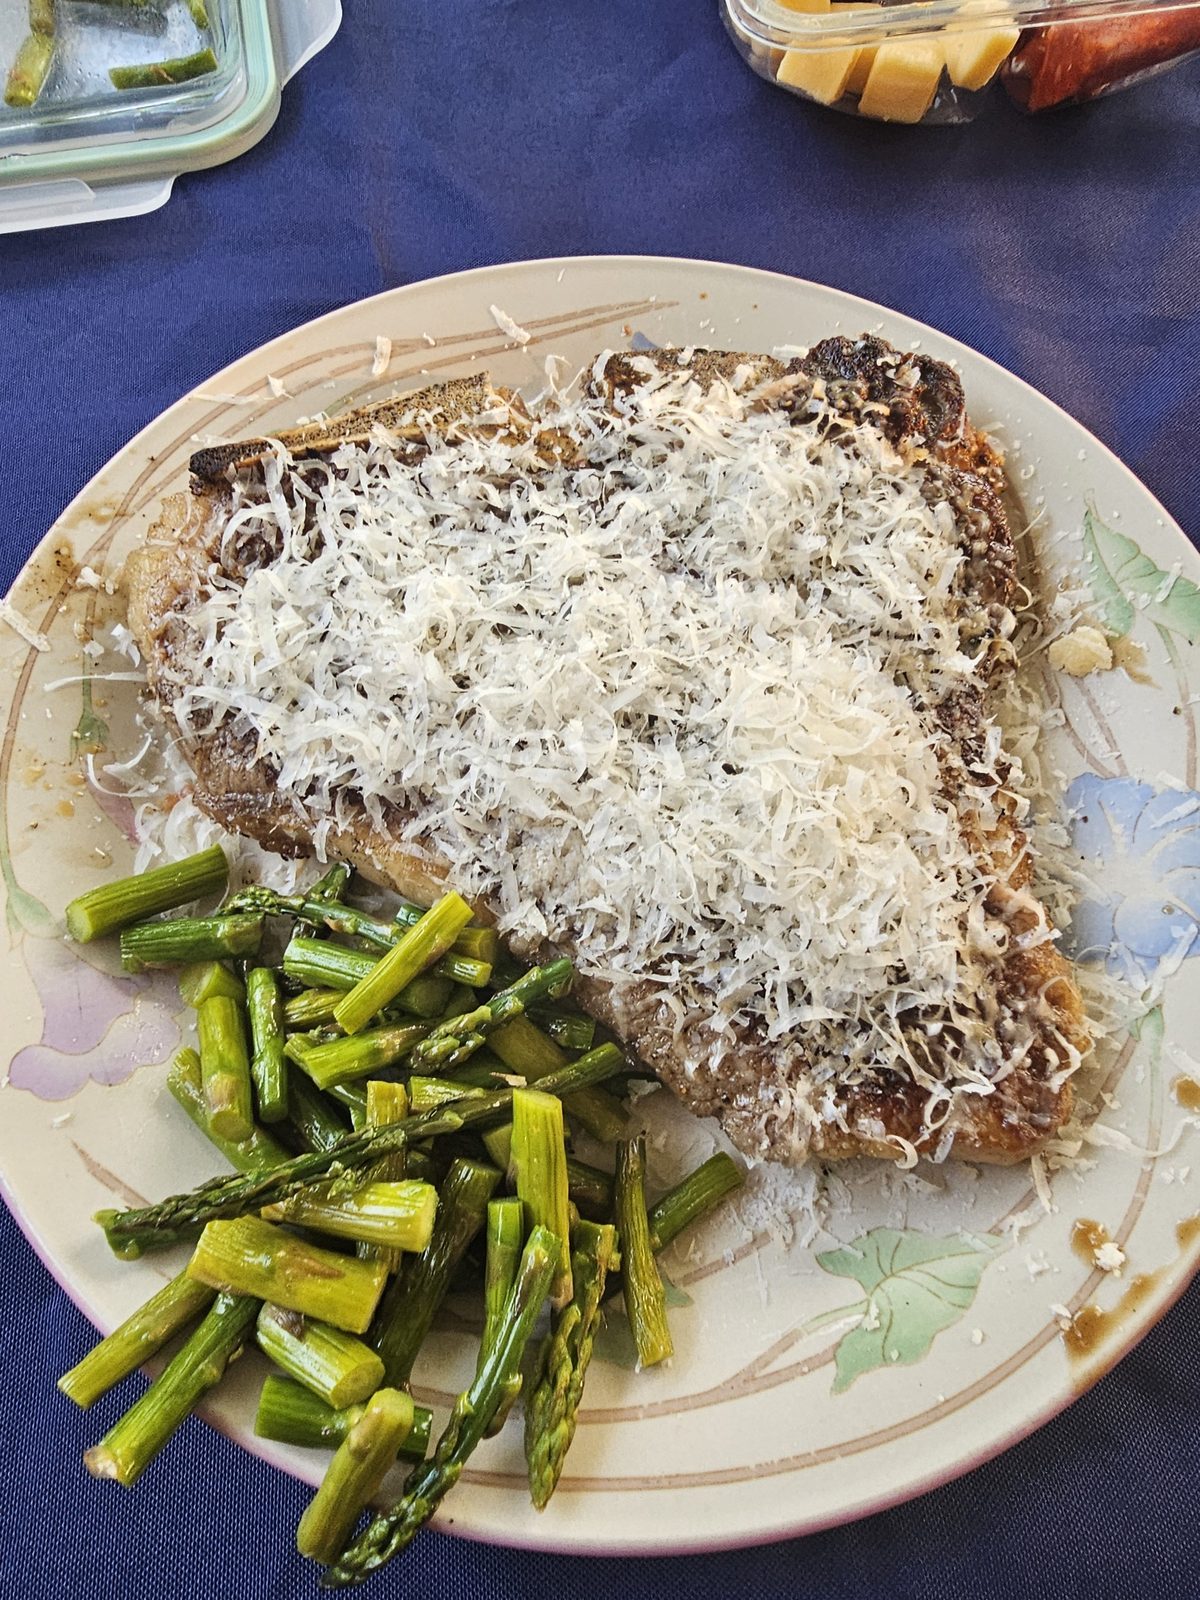
- Maldon salt + fresh cracked black pepper + fresh grated Parmigiano Reggiano
- Maldon salt + fresh cracked black pepper + fresh cracked peri peri pepper
- Maldon salt + fresh cracked black pepper + ground sumac
It is always safe to stop at Maldon salt and fresh cracked black pepper. That combination alone is excellent.
These work because they are high-aromatic, low-mass seasonings. Applied after cooking, their volatile top notes survive. Fresh cracked black pepper contributes aromatic compounds you smell as much as taste. A light grating of peri peri adds bright, fruity heat that lifts the richness of dry-aged beef without masking it. Parmigiano brings savory depth and a subtle nuttiness that sits on top of the beef rather than replacing it. Sumac contributes clean acidity and a faint berry note that cuts through fat the same way a squeeze of lemon would, but without liquid.
Garlic powder (and most garlic in general), heavy spice rubs, and many commercial steak seasonings do the opposite for me. They mute or bury the actual beef flavor. On an expensive cut that is a waste. This method is deliberately beef-forward. That only tastes good if the beef itself is excellent. If the meat is bland, lean, or poorly aged, highlighting its natural flavor will work against it.
Explaining Everything
Meat selection
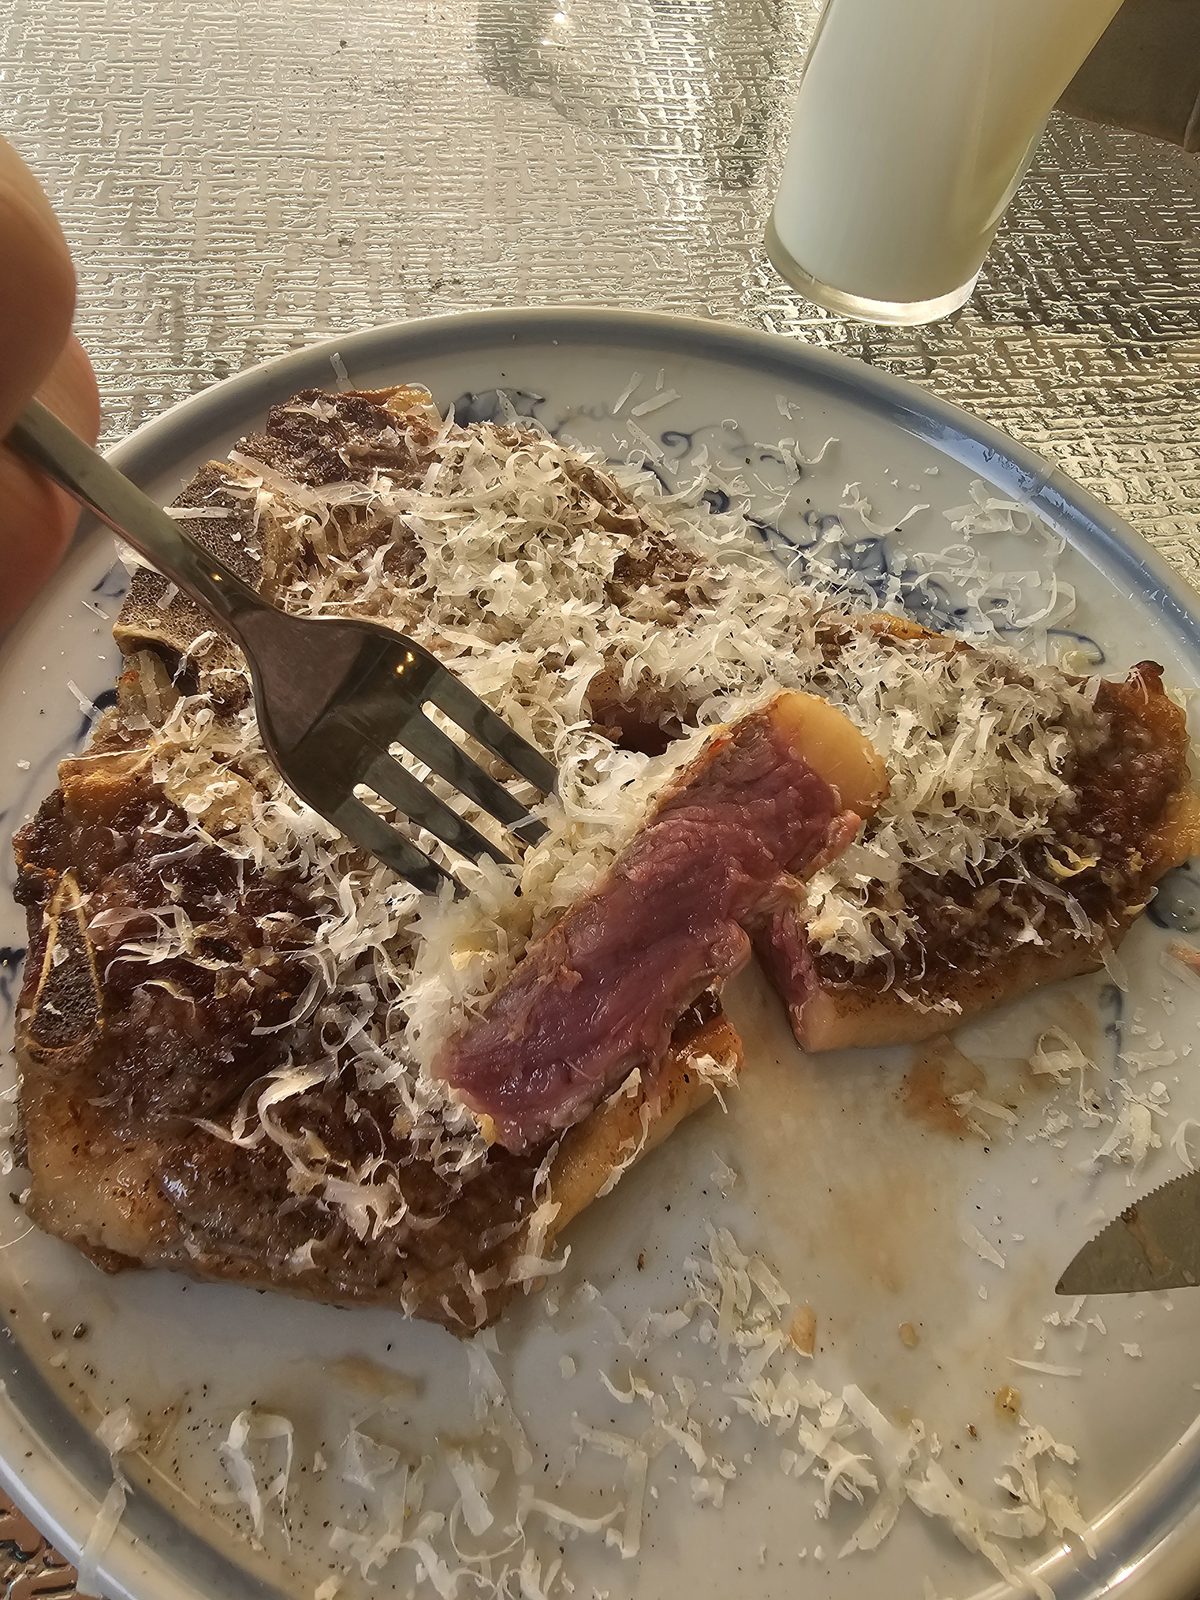
This method only works properly on good beef. USDA Prime is the target. Choice can still be good if the marbling is strong. Select is not worth using this technique on. The steak also needs real marbling and ideally dry aging (minimum 14 days). Lean or wet-aged commodity beef will not give the same result because the method does nothing to hide mediocre flavor.
If you are in the Pittsburgh area, the shortcut is Thoma Meat Market in Saxonburg. Their cattle are local, the large majority of the beef is USDA Prime, and everything is dry-aged at least 14 days. That is the standard I cook to.
I use to buy, almost exclusively, 2-inch thick steaks. Those do not work well with this method (too thick for the short cook) and they are awkward for a traditional prime-rib approach either. I now prefer steaks between ¾" and just under 1". Anything thicker and I just make a proper prime rib instead.
Why the extreme heat and the short cook
Maillard reaction accelerates dramatically as surface temperature climbs. At a normal cast-iron sear temperature (~500 °F) you need longer contact time to build a deep crust, and that time cooks the interior further. At 650–700 °F the crust forms in roughly a minute per side while the center stays rare and only warms through. The steak never sits long enough for the interior to climb past rare+.
Flipping every 60 seconds keeps both sides developing crust without one side overcooking while the other waits. Total time of four minutes on a ¾–1" steak is the window that reliably produces a hot red center. I have tested longer and shorter times; this is the one that consistently hits what I want.
Going past ~720 °F starts producing black carbon spots rather than a clean crust.
Dryness is non-negotiable
Any surface moisture turns into steam the instant the steak hits the pan and kills the crust. That is why the paper-towel rotation matters. Leave the steak sitting on towels and change them every 10–15 minutes (or whenever they darken with moisture) until the surface is truly dry. Do not rush this step.
What I used to do (and why I stopped)
I spent years dry-brining, wet-marinating, reverse-searing, sous-viding, and offset-cooking, among every other method you can think of. All of those methods can produce good steaks. Once I locked in the high-heat, bone-dry, no-fat, short-cook approach, the older techniques became unnecessary complexity for this thickness range.
I specifically tried dry-brining with the 666 method. The salt drew moisture, the surface never got quite as dry, and the finished texture was noticeably firmer and less tender. I abandoned it.
Resting
There is almost none. By the time you plate, season, and sit down, the steak has had its 2–3 minutes. The juices stay in place far better than theory predicts, probably because the extreme surface heat sets the exterior quickly.
Cast iron care
This does not destroy a well-seasoned pan. After cooking, let the pan cool somewhat, wipe out any residue, and dry it thoroughly. If it needs a light re-seasoning, do the normal thin-oil-and-heat routine. Between cooks keep it clean and dry. The high heat actually helps maintain the seasoning if the pan was already in good shape.
Doneness notes
This recipe is written for rare+ (hot red center). If you want something closer to medium-rare or medium, add 30–60 seconds total and experiment. I will not endorse going further than that with this method. Most people who normally eat medium-rare or medium that tried the 666 rare+ version preferred it and were glad I didn't cook it any longer. I simply did not serve these steaks to anyone who prefers well-done.
That is the complete current method: select excellent beef, get it bone-dry, hit it with extreme dry heat for four minutes with frequent flips, season after with a light aromatic seasoning, and eat. Everything else is optional complexity.
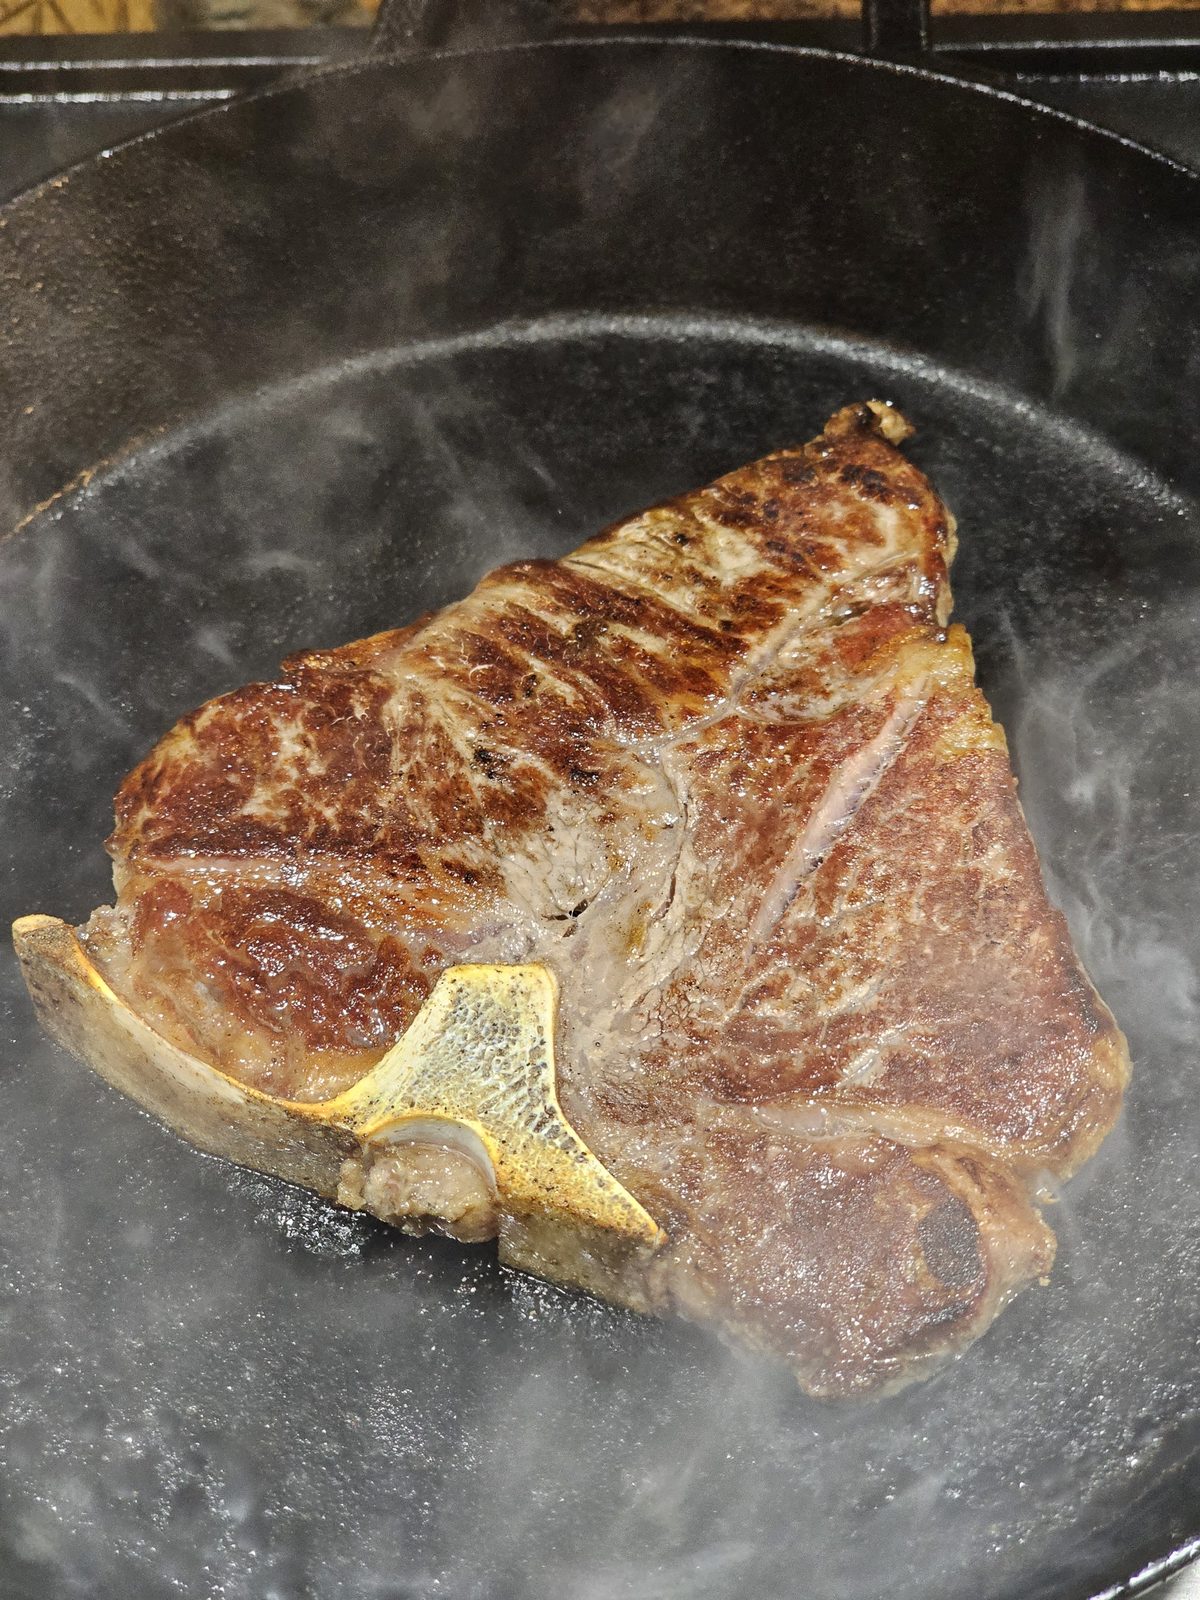
22 Aug 2026
Addendum - 1½" thick steaks
Time: 7 minutes total, still flipping every 60 seconds. That is the linear scale from 4 minutes. Do not lengthen the interval; longer per side at this heat goes carbon, not crust.
Each face only sees half the clock (~3½ min of pan time vs ~2 min on a ¾″ steak). Extra color is real; a 7-minute one-sided burn is not. A 2 lb steak also drops the pan harder, which helps. Watch the crust at minute 5–6. If it is going black rather than mahogany, pull. Stay under ~720 °F.
If the center still feels cold/raw at 7 minutes, one more 60-second flip (8 minutes max). That is the same +30–60 seconds the board already allows toward medium-rare. Stop there.
Fat cap: No need to stand the edge. After 7 minutes at this heat the outer fat had fully liquefied.
Bone-in: the eye next to the bone will lag. That is fine for rare+.
1½" center was perfect at 7 minutes. hot red. melted in my mouth