Perfect Prime Rib (Reverse Seared)
This reverse sear method delivers perfectly cooked bone-in prime rib with a tender, juicy interior and a flavorful crust. It starts with a low-and-slow oven cook to reach the desired internal temperature, followed by a high-heat sear. This is the discord version of my Perfect Prime Rib.
Ingredients
- Bone-in prime rib roast
- Maldon salt (do not use iodized table salt)
- Freshly ground black pepper (applied after the sear)
Equipment
- Heavy-duty roasting pan with wire rack (CuisineArt roaster with rack for smaller roasts; double aluminum trays + CuisineArt rack for very large cuts)
- Digital meat thermometer probe
- 10" carving knife & cutting boards
Instructions
Step 1: Source the Best Beef
Purchase your bone-in prime rib roast from a quality butcher that dry ages their own beef. Near me, Thoma Meat Market is the gold standard — their locally raised beef is USDA Prime. Call a week ahead for large roasts; ask them to loosen the bones and retie with butcher’s twine.
Step 2: Prepare the Roast
- If dry aged longer than 21 days: You only need to coat it lightly in Maldon salt about 30 minutes before it goes into the oven.
- For all other prime rib: Dry brine for at least two nights prior. Place the roast on a wire rack over a rimmed baking sheet so it can breathe on all sides. Generously coat all surfaces with Maldon salt. Cover one side, wait 15 minutes until the salt has mostly dissolved, then flip and coat the rest. Leave uncovered in the refrigerator.
Step 3: Set Up the Roasting Pan
- Place the wire rack in the roasting pan.
- Line the bottom of the oven (second-to-bottom rack position) with foil only if the prime rib is massive and barely fits in the pan.
- Add about 1 inch of water to the roasting pan only if using a reusable pan (skip in aluminum trays).
- Place the roast on the rack bones down (fat cap up) for the best sear later.
- Insert the temperature probe into the center of the thickest part of the roast.
Step 4: Slow Cook in the Oven
- Preheat the oven to 250 °F bake (do not use convection).
- Roast does NOT need to come to room temperature before you start.
- Cook until the internal temperature reaches 118–120 °F. Monitor the probe closely; cooking is by temperature, not time.
For planning purposes, here are some real world cook times
- 7⅓lb to 120F ≈ 3hr15m in oven + 2hr rest
- 10 lb tp 120F ≈ 4hr in oven + 2hr rest
- 22¾ lb to 119F ≈ 6hr in oven + 2hr rest
- 25lb to 119F ≈ 7.5hr in oven + 2hr rest
Step 5: Rest the Roast
- Remove the roast from the oven and place the entire pan on a trivet or the stovetop. Leave uncovered.
- Let it rest for 2 hours. This rest is critical for carry-over cooking and juiciness.
You may rest longer if waiting for the rest of the meal or guests.
Step 6: Sear the Roast
- After the rest, preheat the oven to 500 °F convection roast (or as high as your oven will go).
- Once the oven is fully preheated, return the roast (still uncovered) for 5 minutes.
- Remove immediately. The exterior should now have a beautiful crust.
Step 7: Finish, Carve, and Serve
- Immediately coat the entire roast heavily with freshly ground black pepper. Do not worry about “too much” — each slice will have the perfect amount on the edge.
- Let it cool just enough to handle safely (no extended rest needed).
- Stand at the end of the buffet line with your carving knife and slice pieces to order for each guest as they come through the line.
Never pre-slice the entire roast onto a serving tray. When carved and served individually this way, the prime rib stays hot, juicy, and perfectly medium-rare from edge to edge every single time. This final step makes all the difference in the world.
That’s it. Follow the temps & rests exactly and you will have prime rib better than any restaurant — tender, juicy, and perfectly pink from edge to edge.
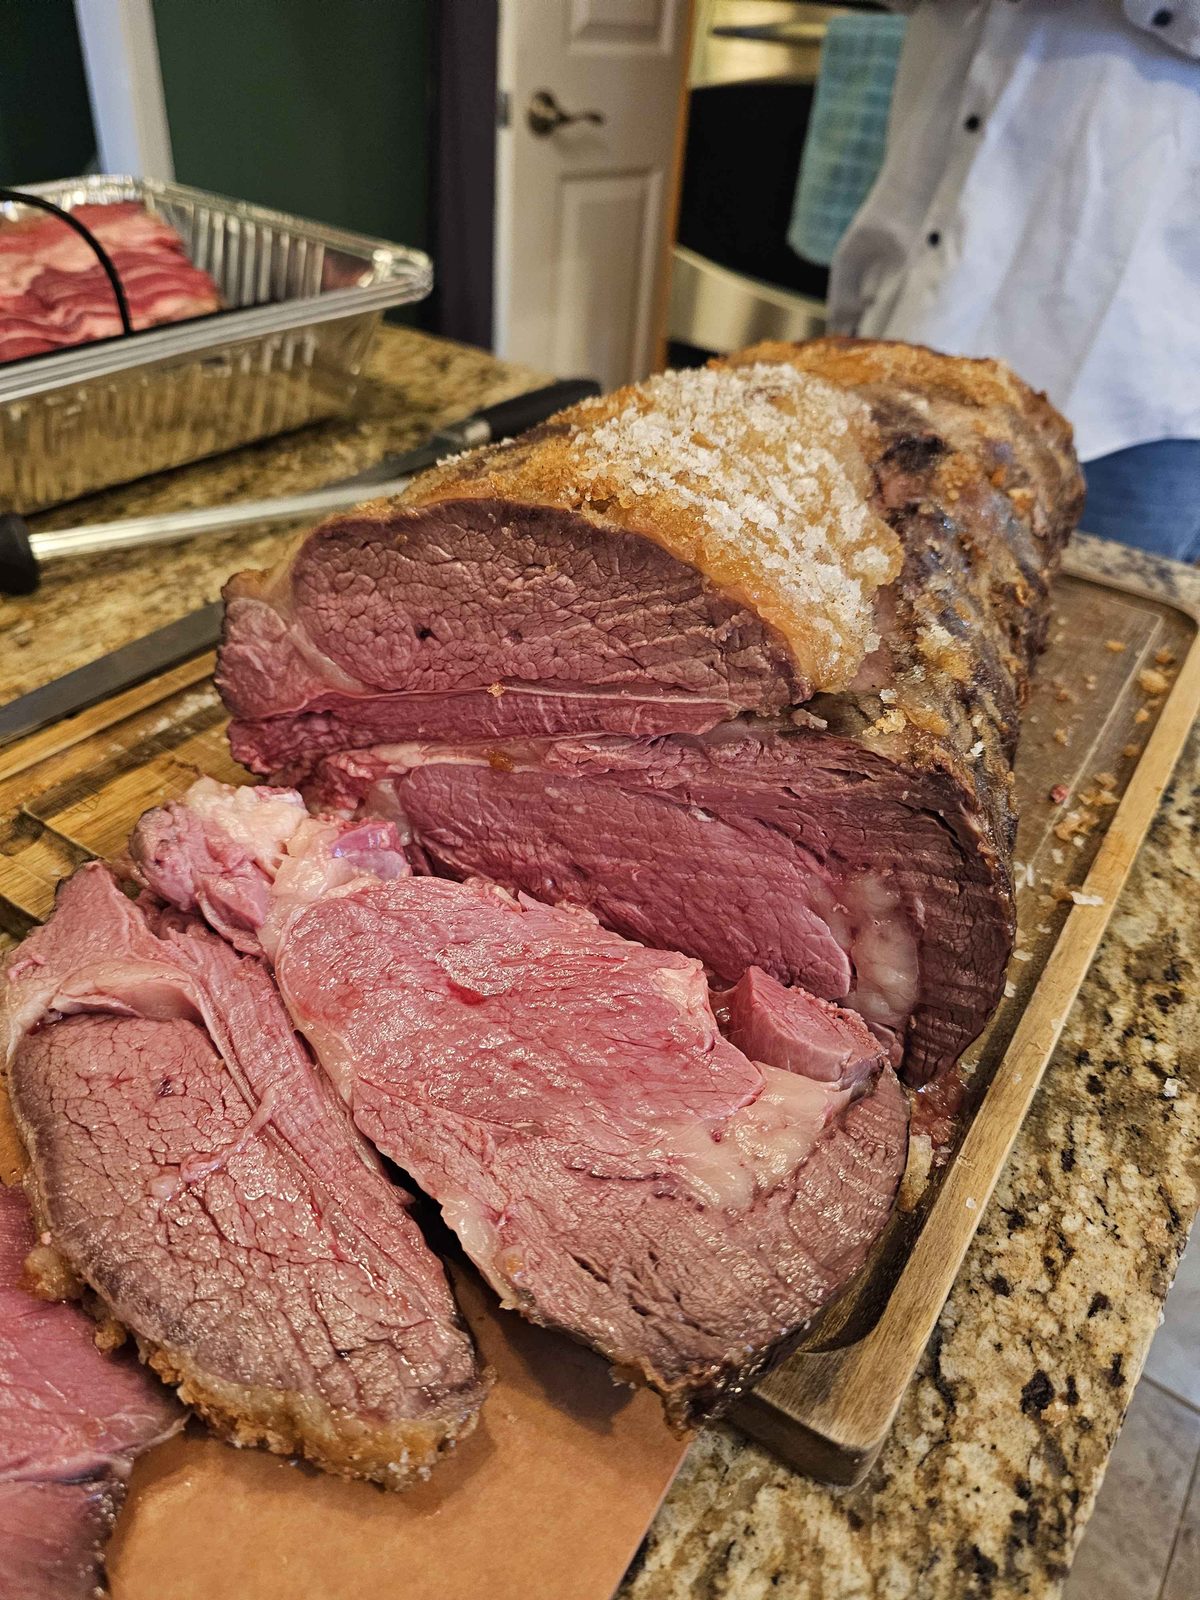
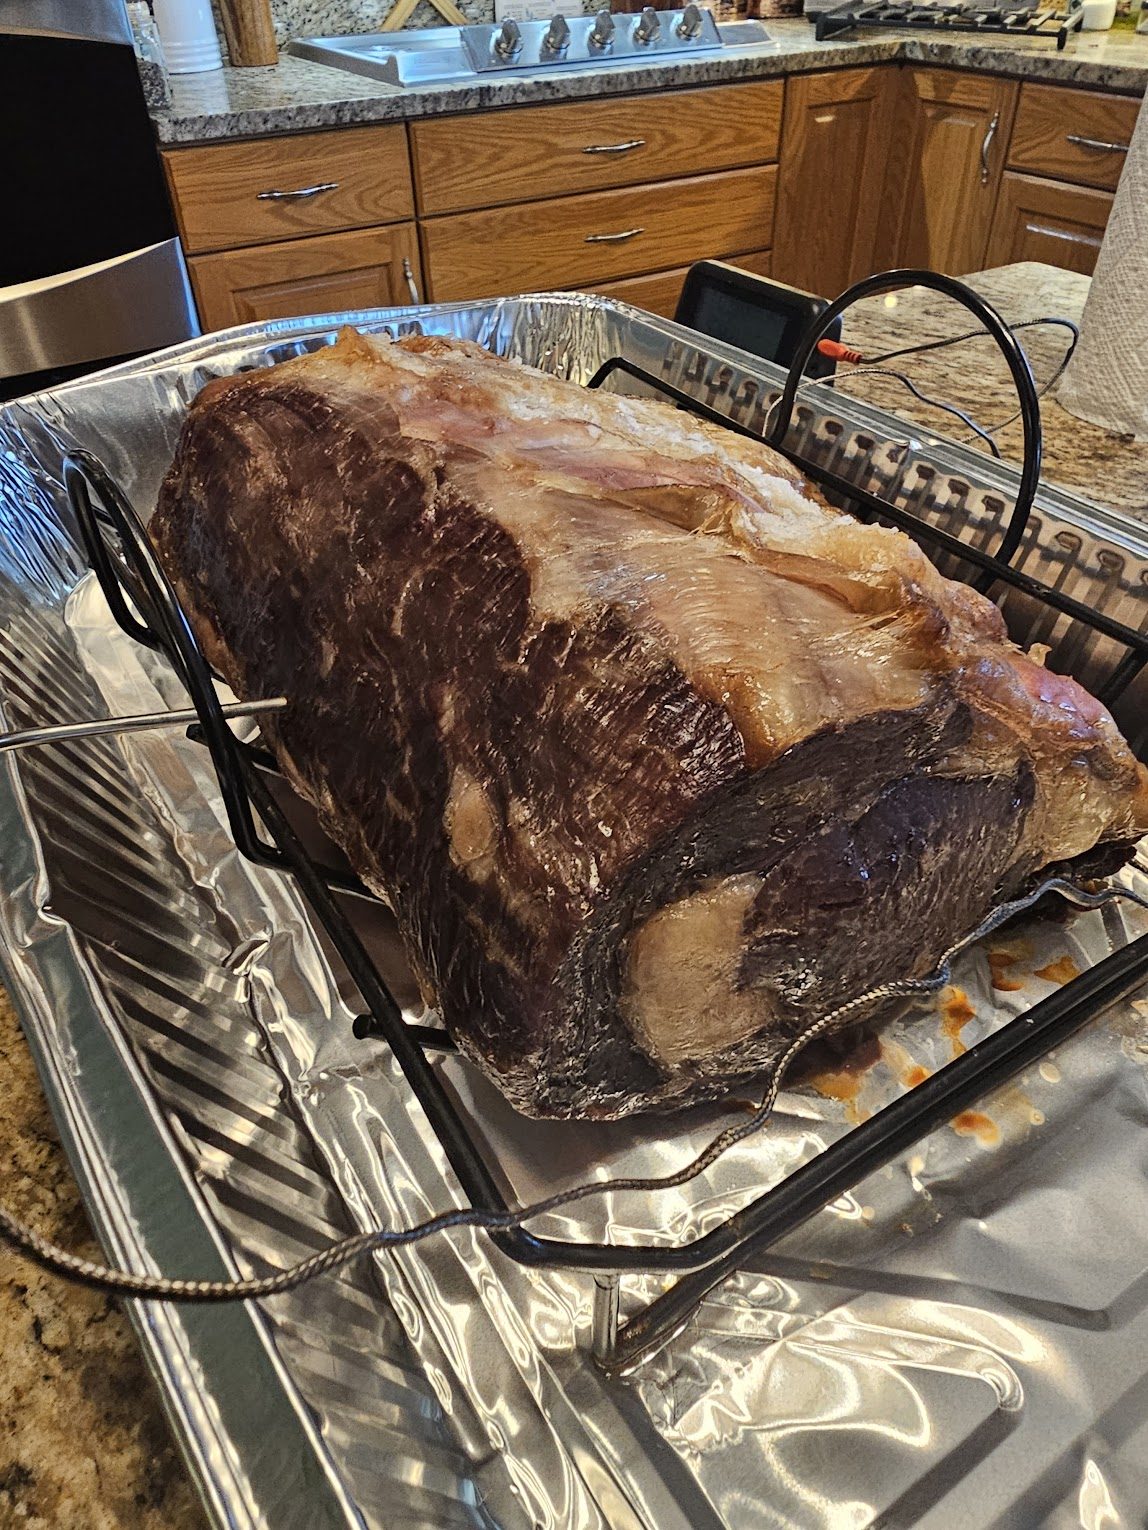
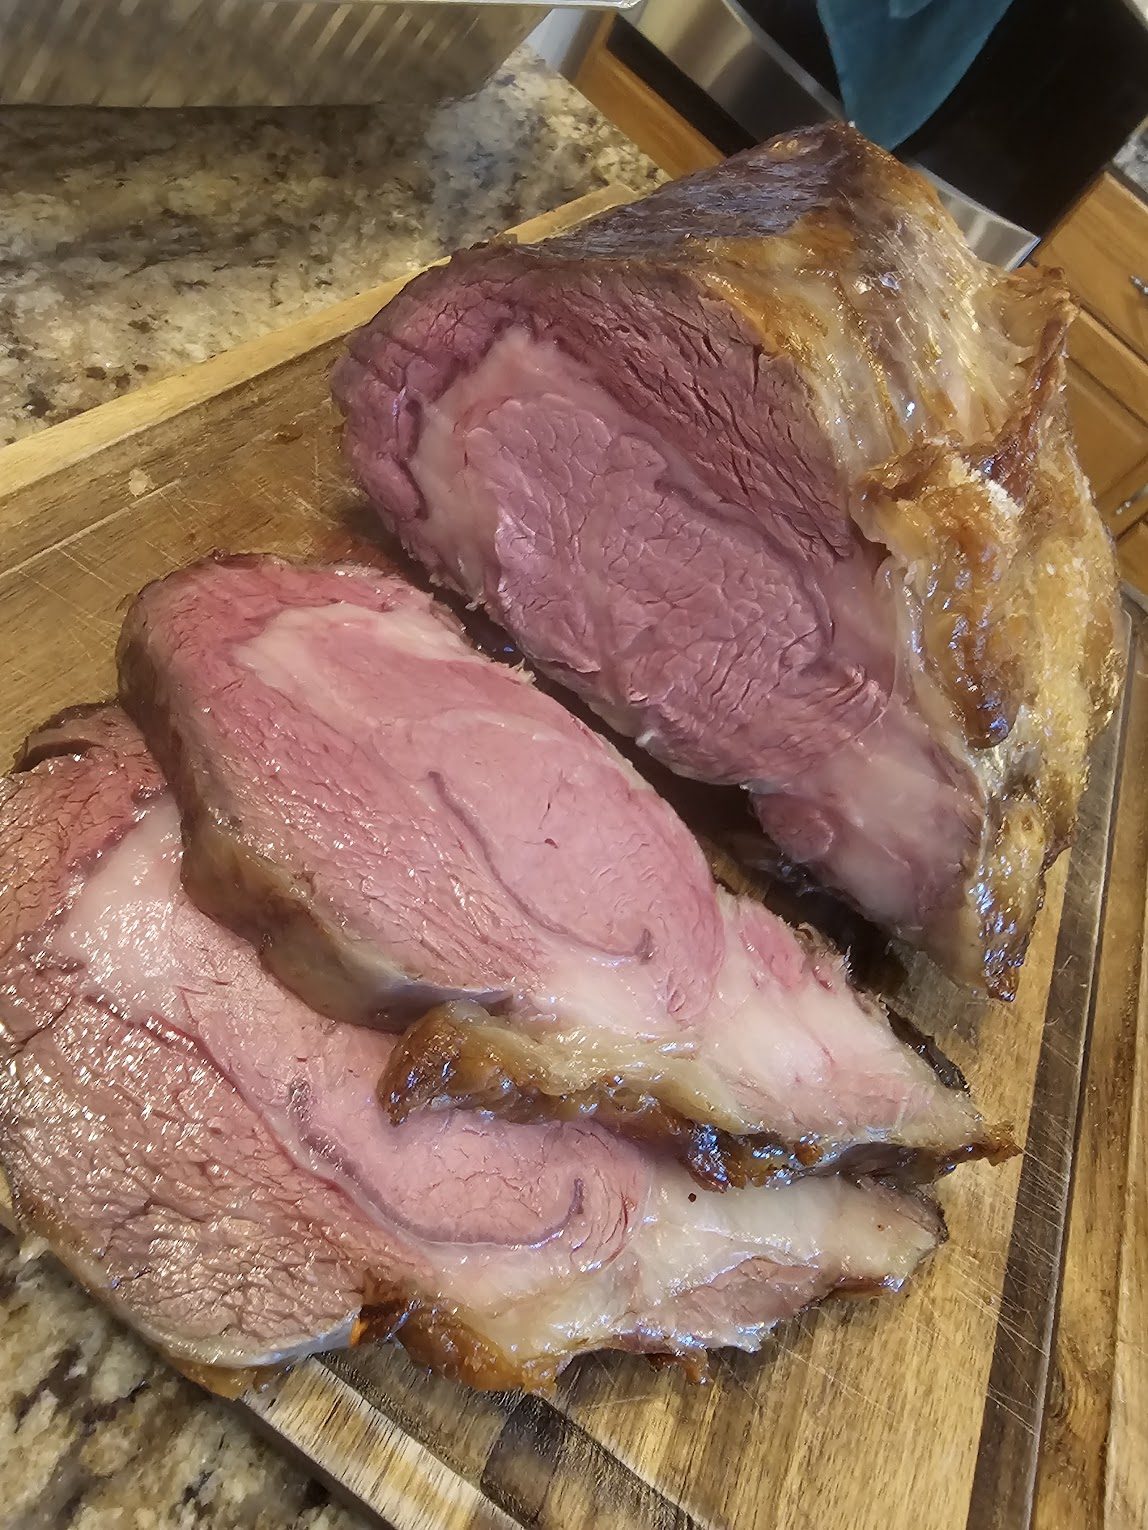
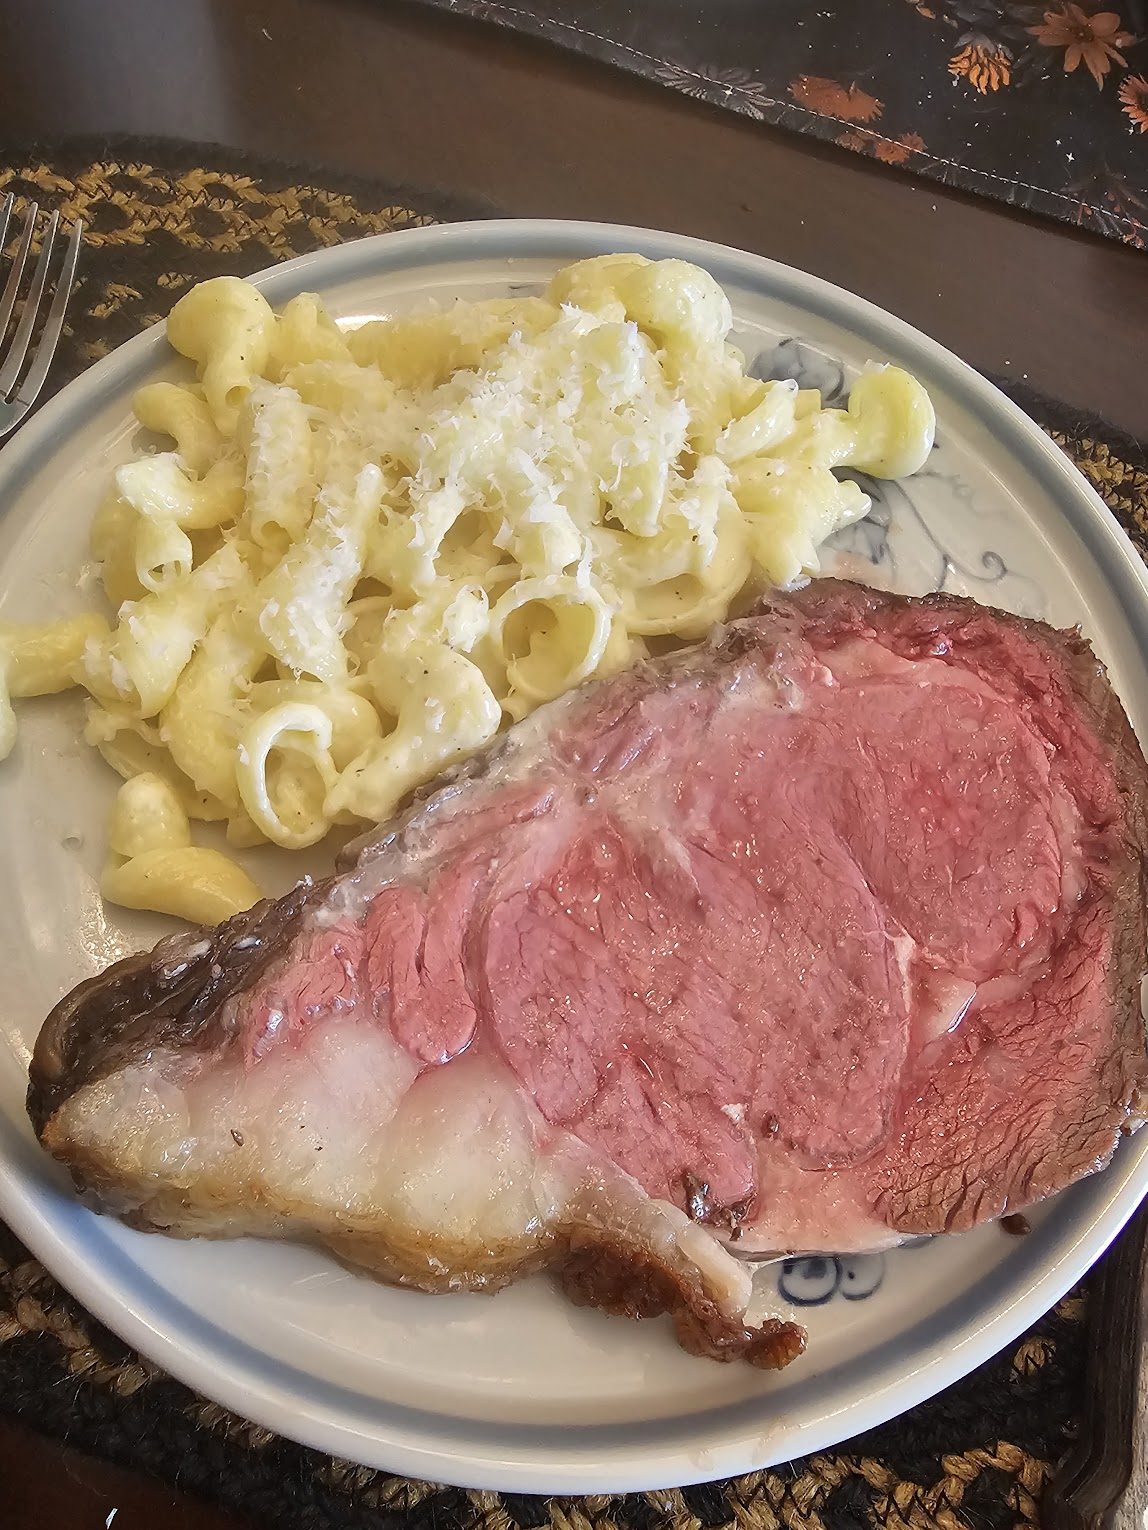
Christmas prime rib
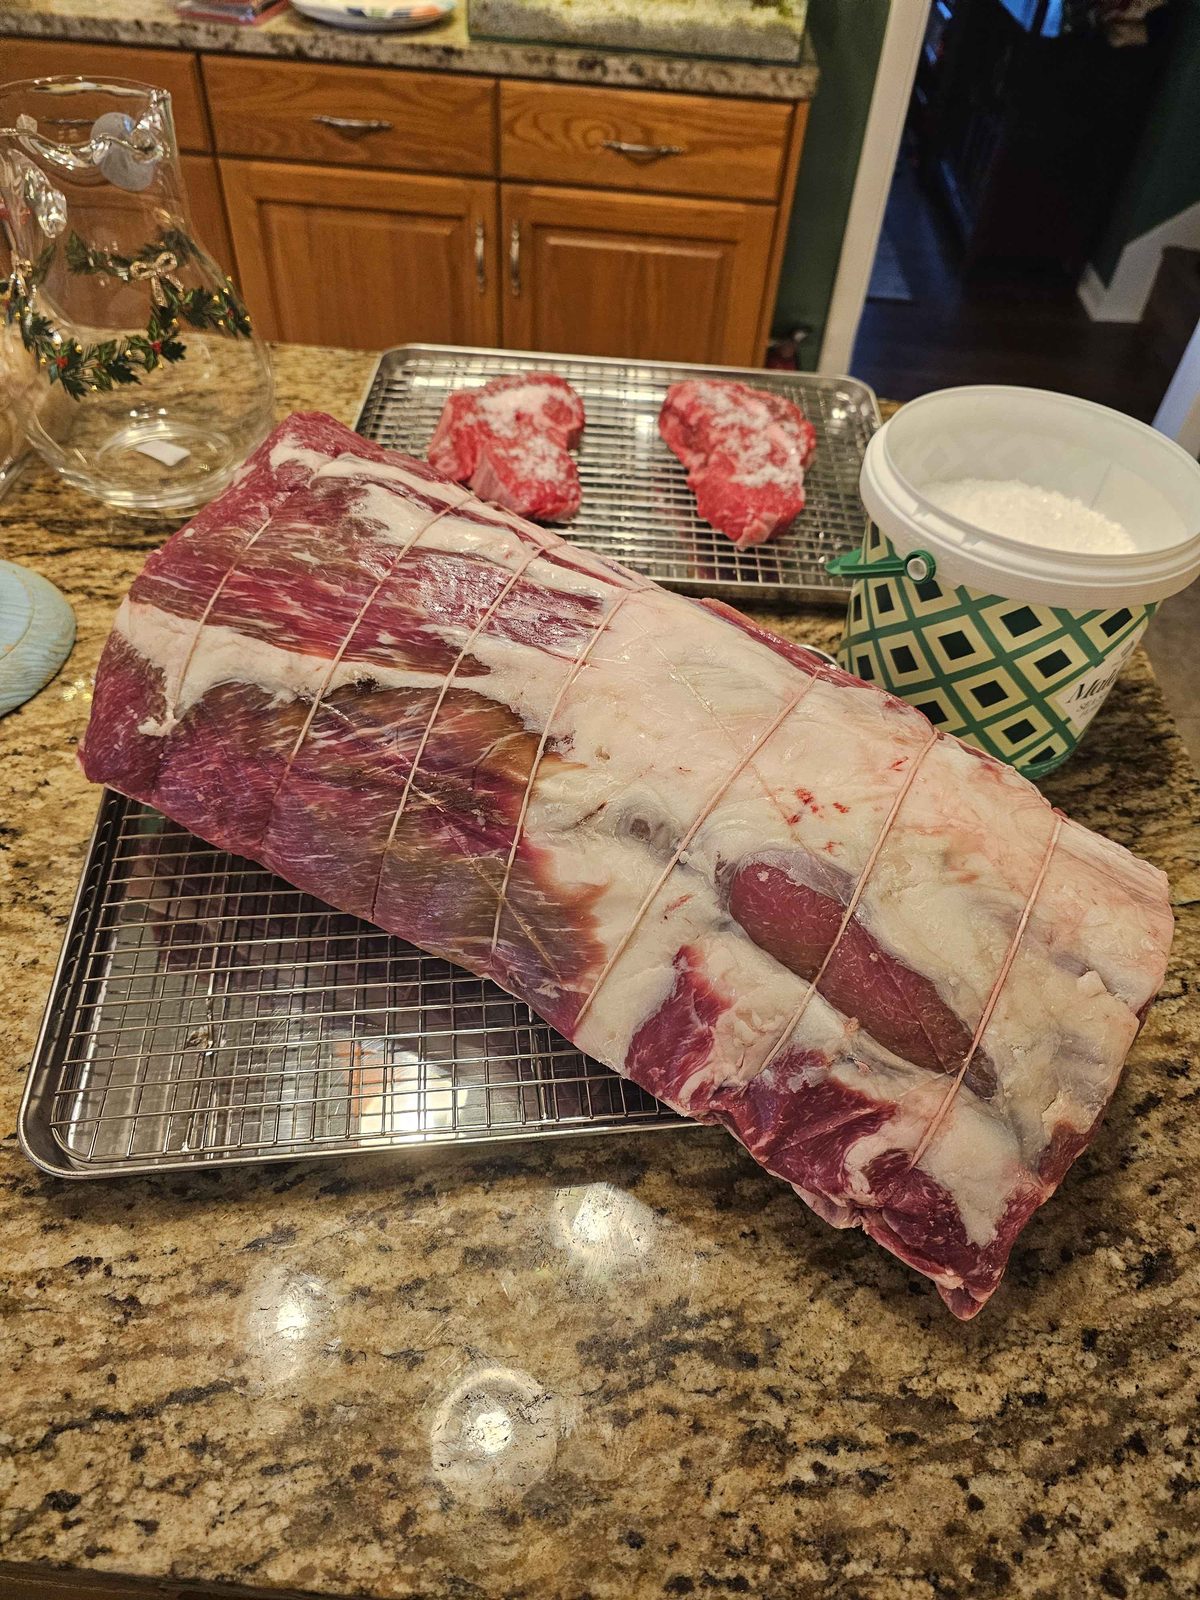
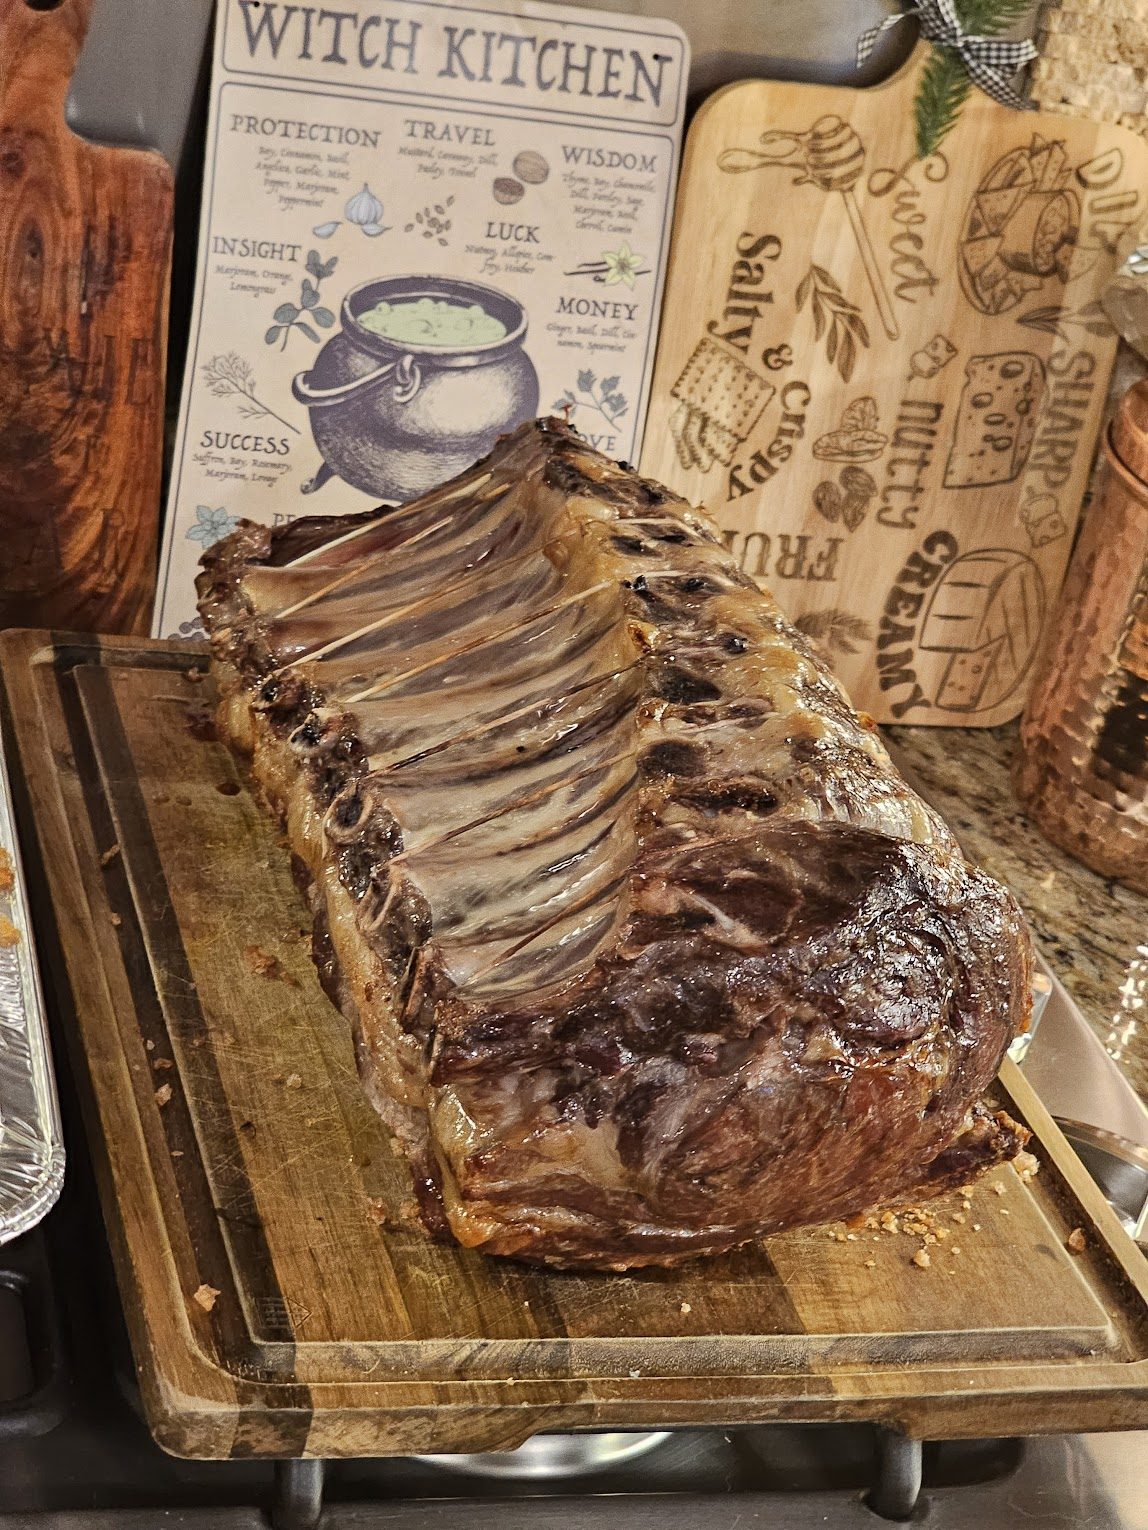
New Years Eve Prime Rib
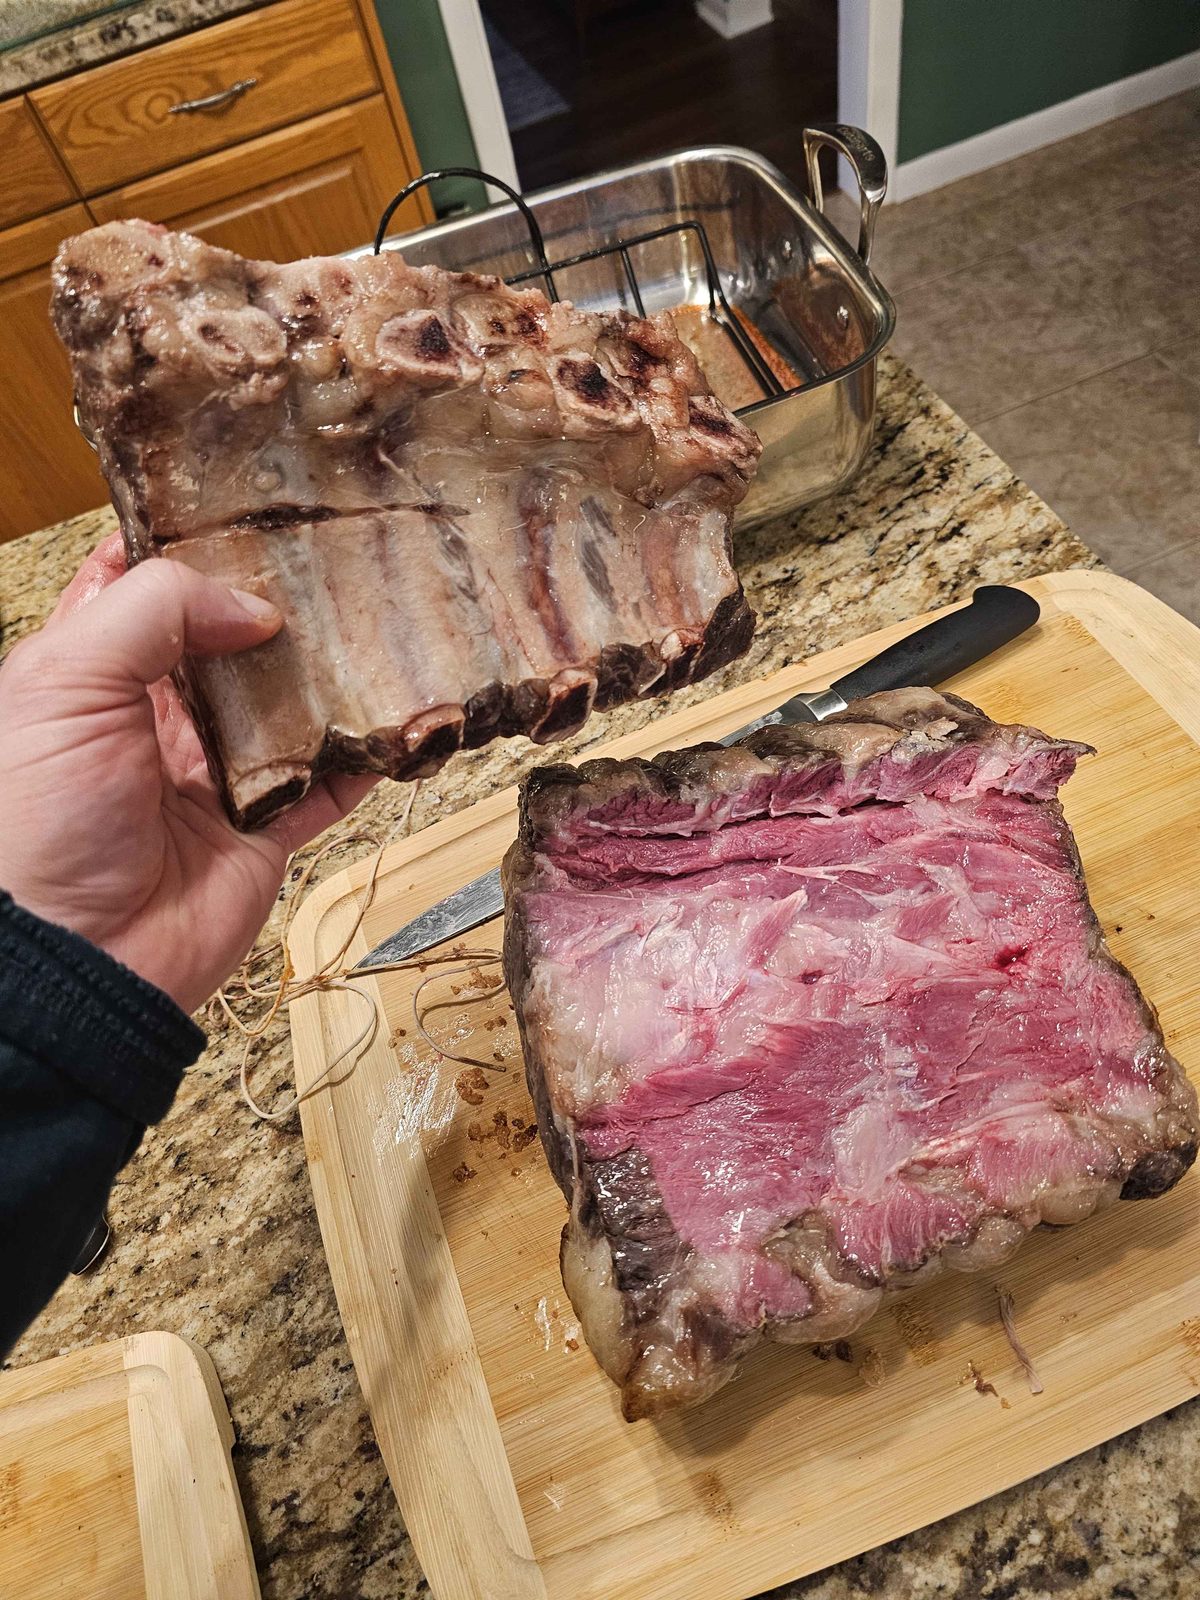
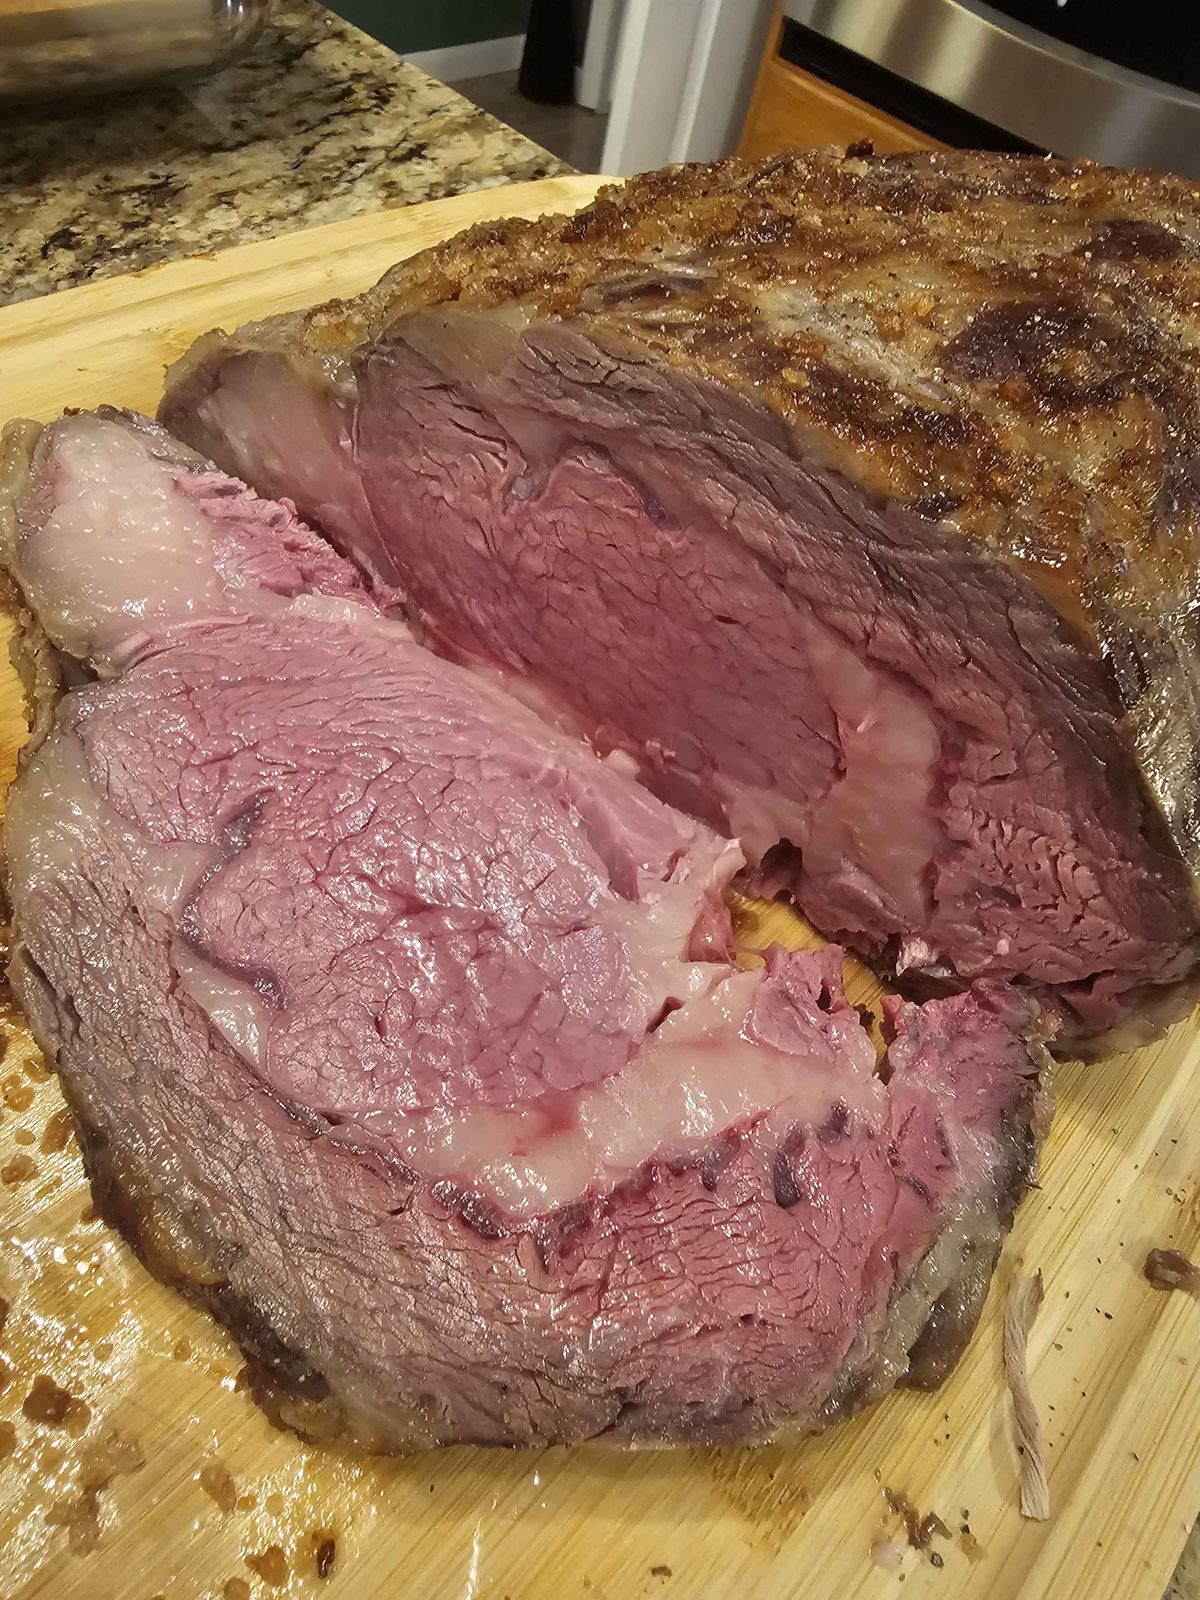
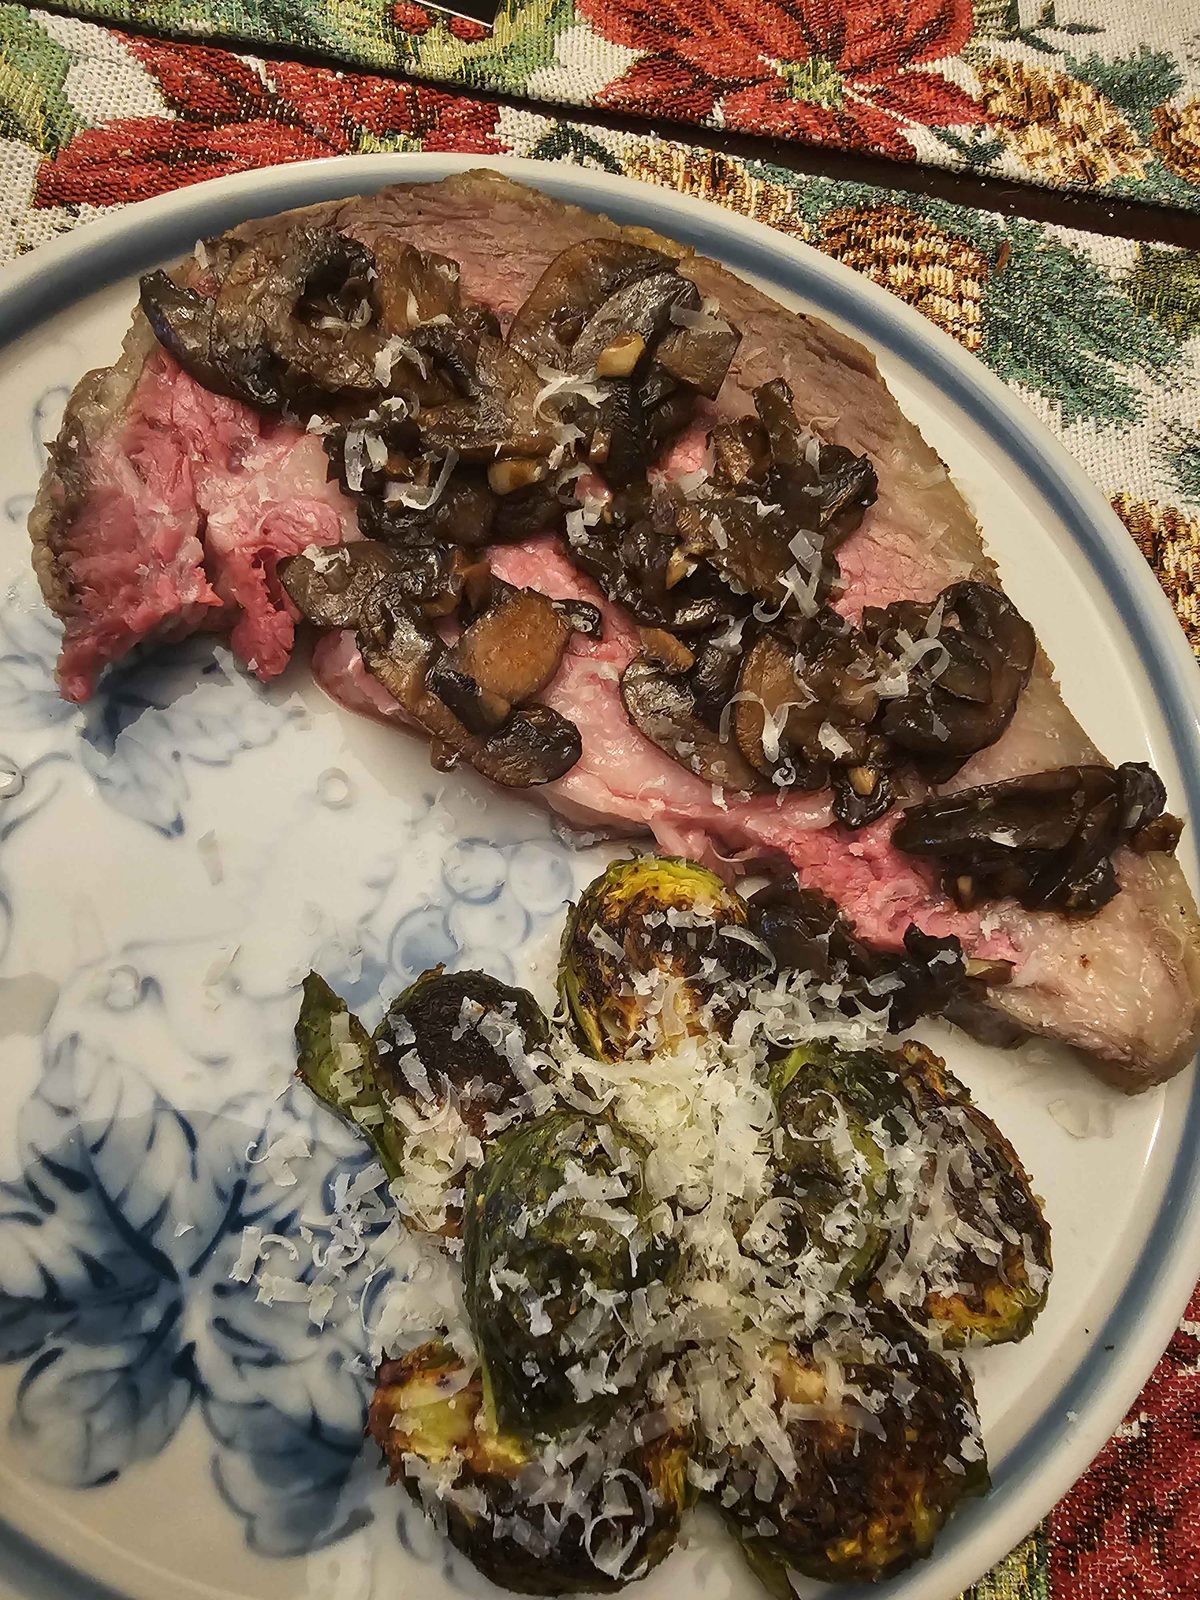
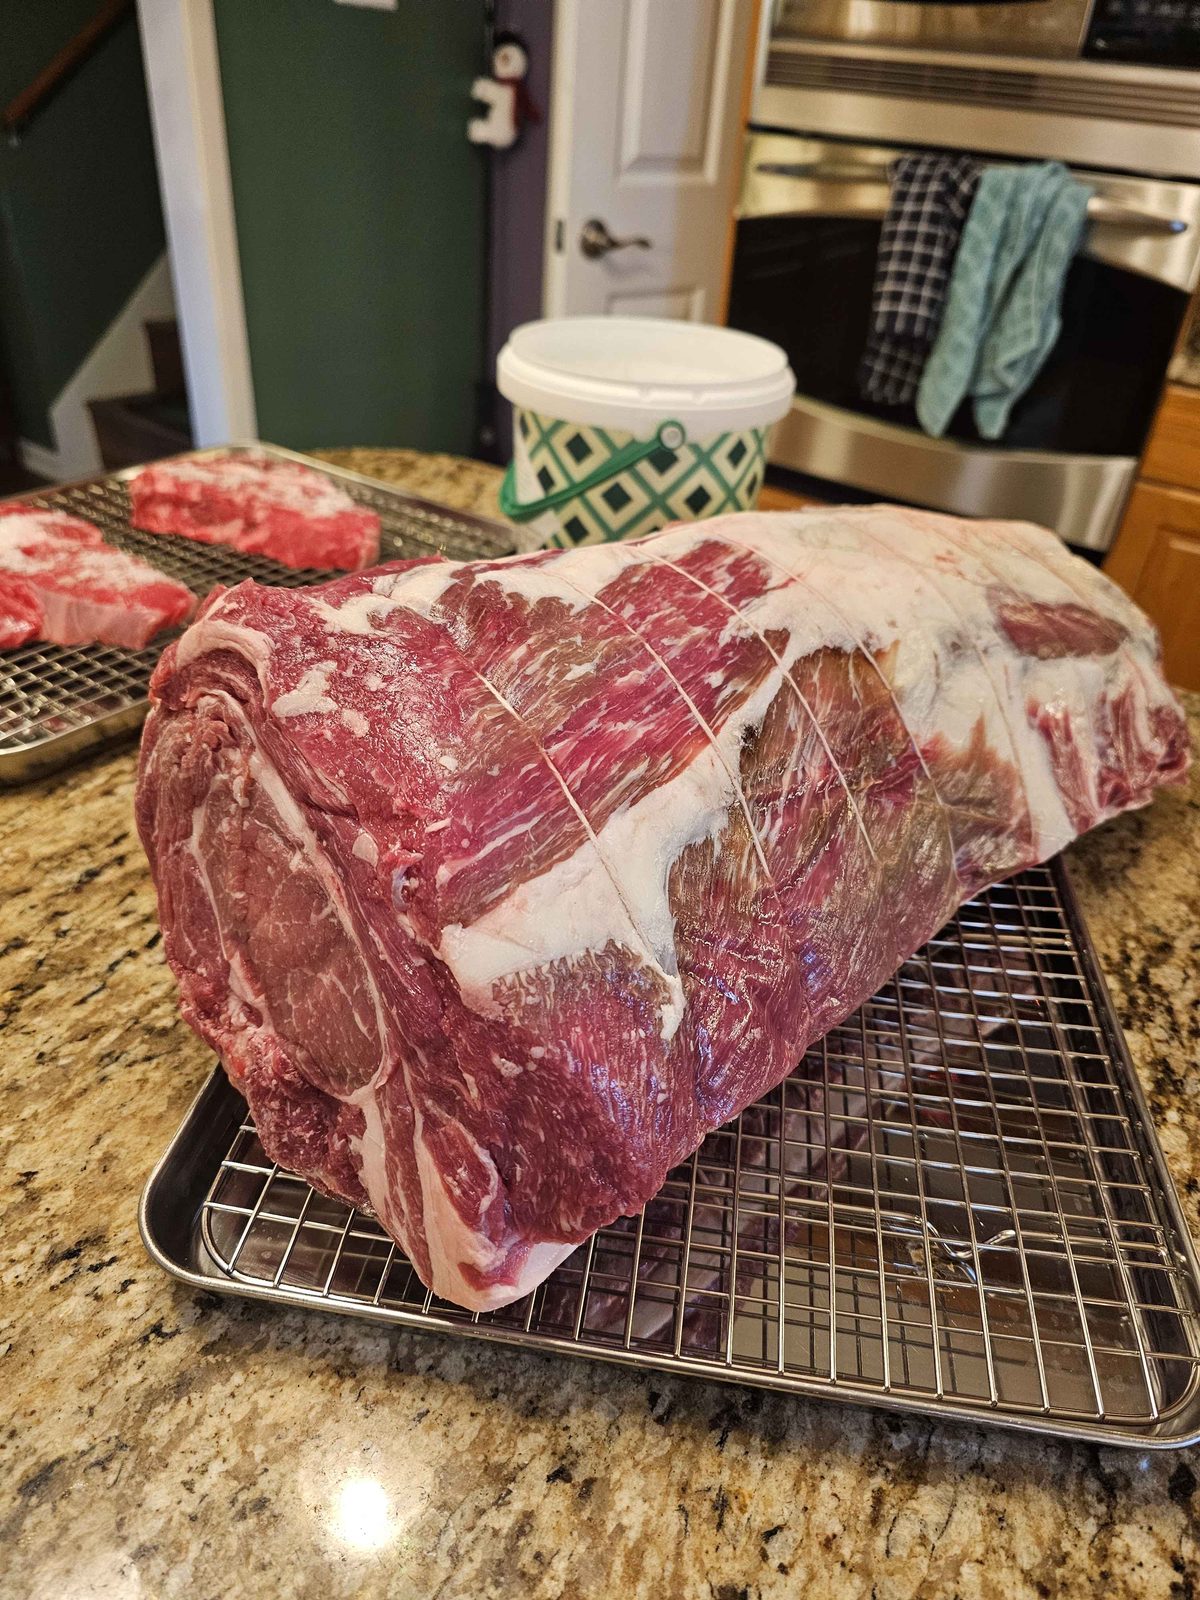
Birthday Prime Rib
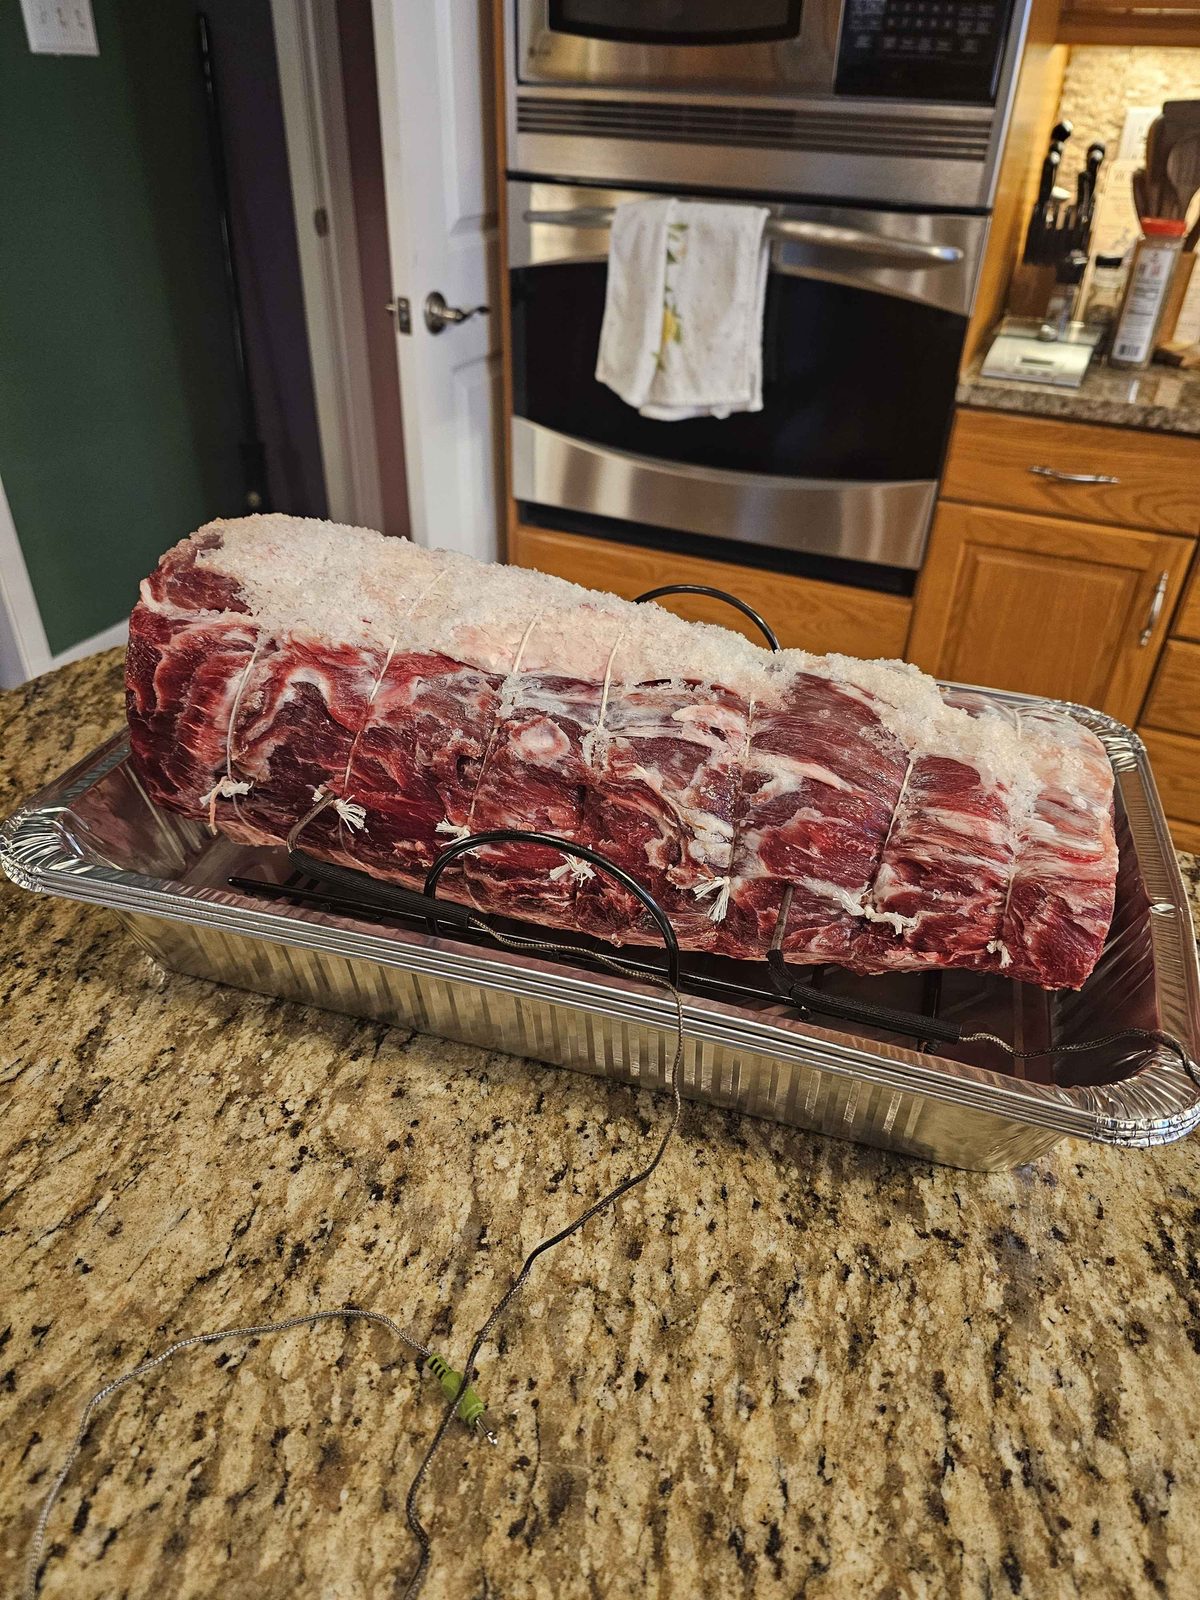
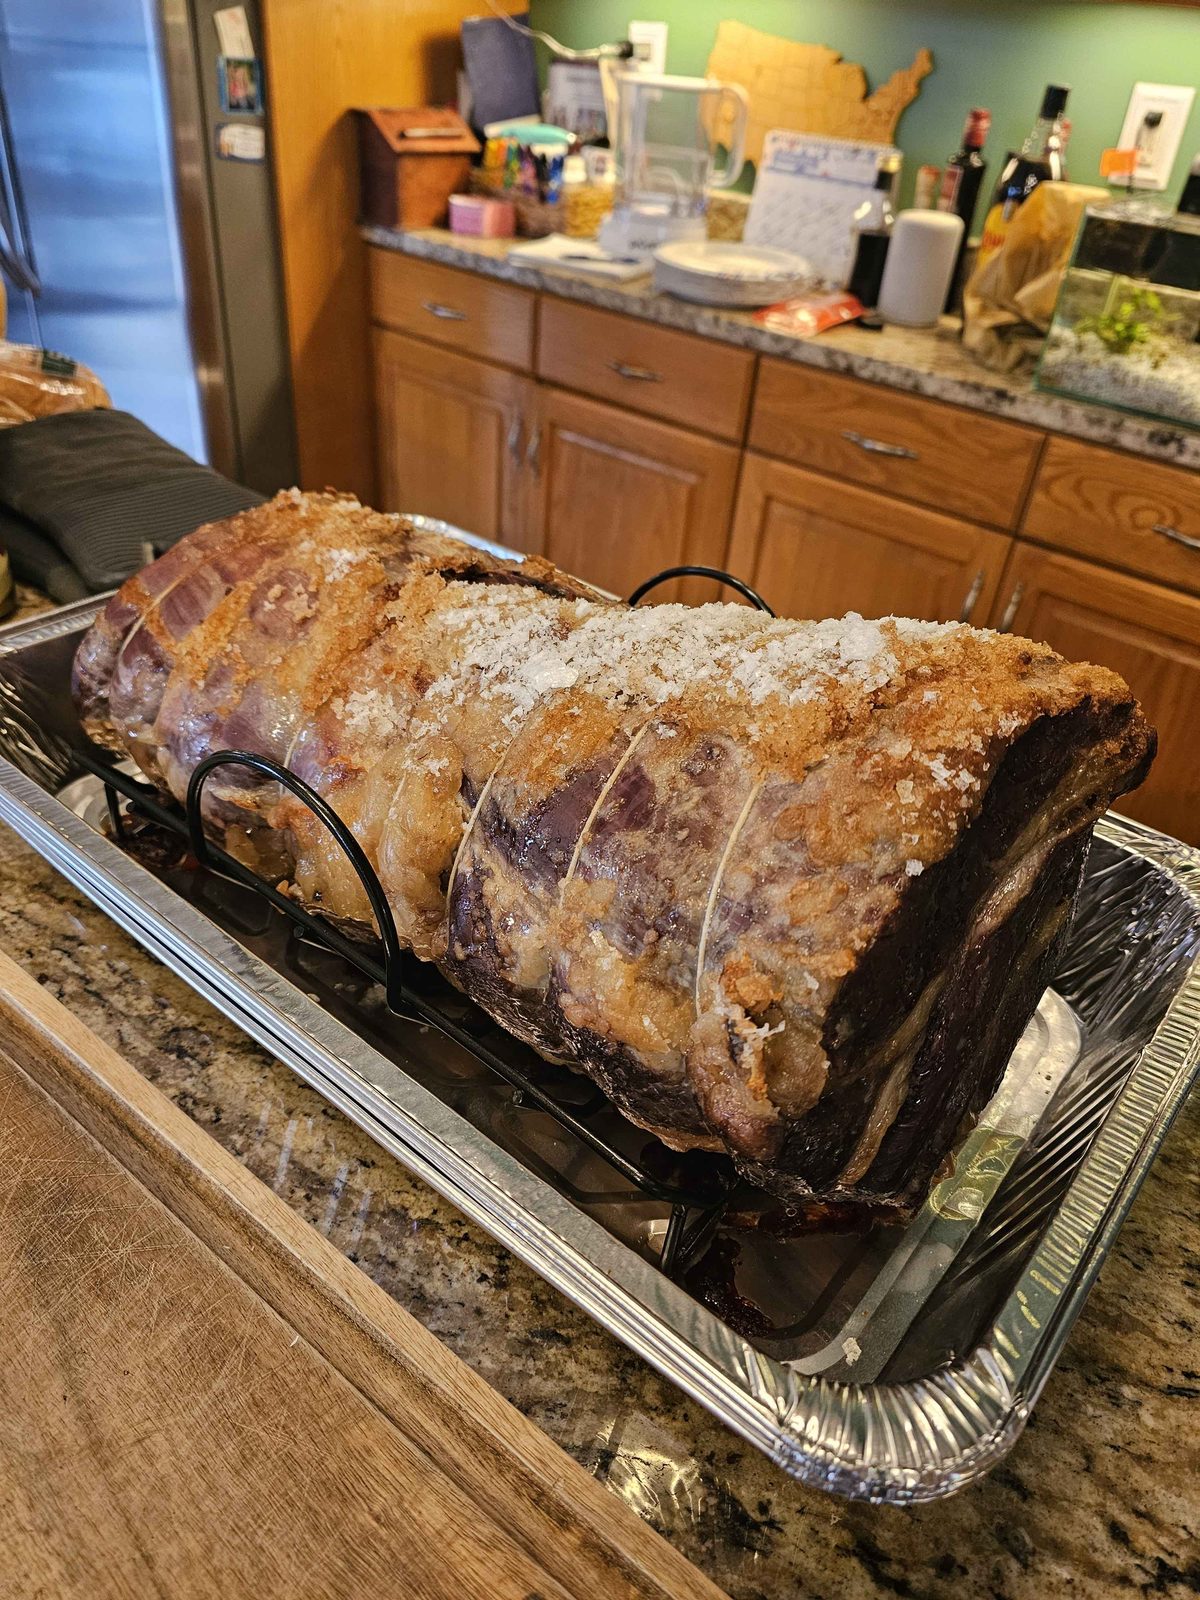
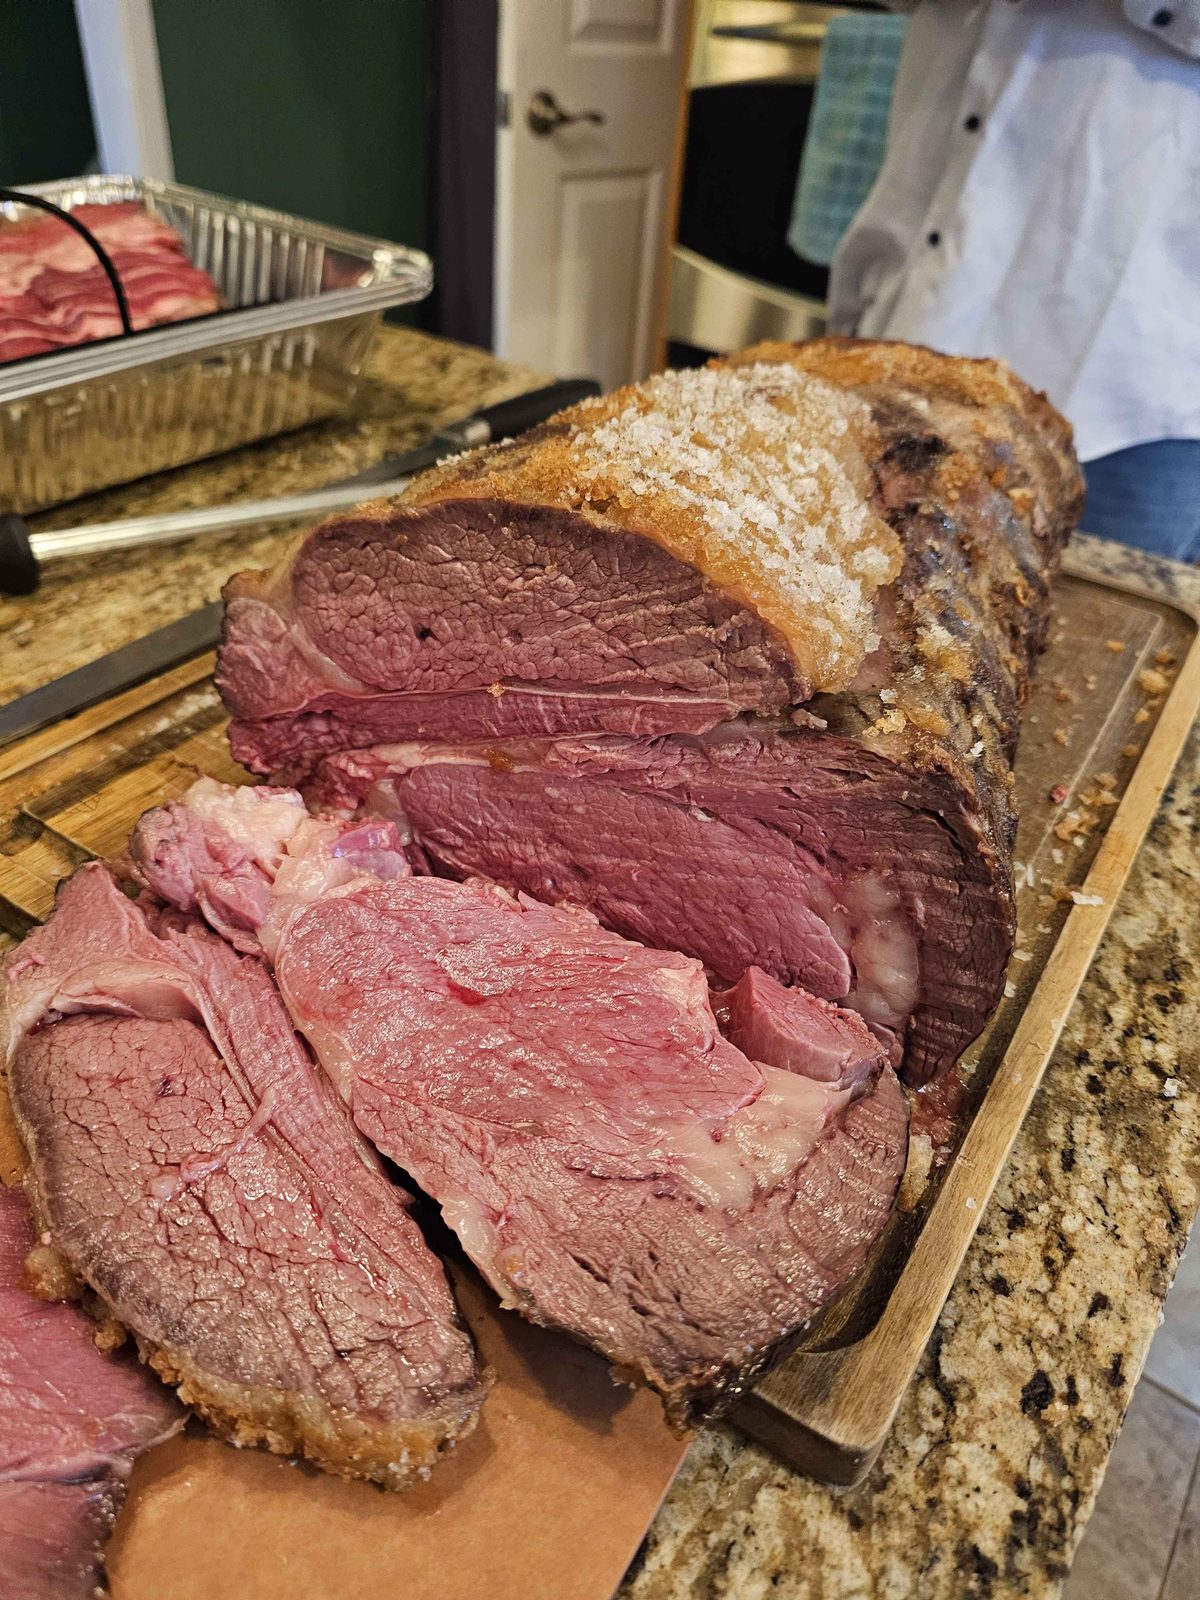
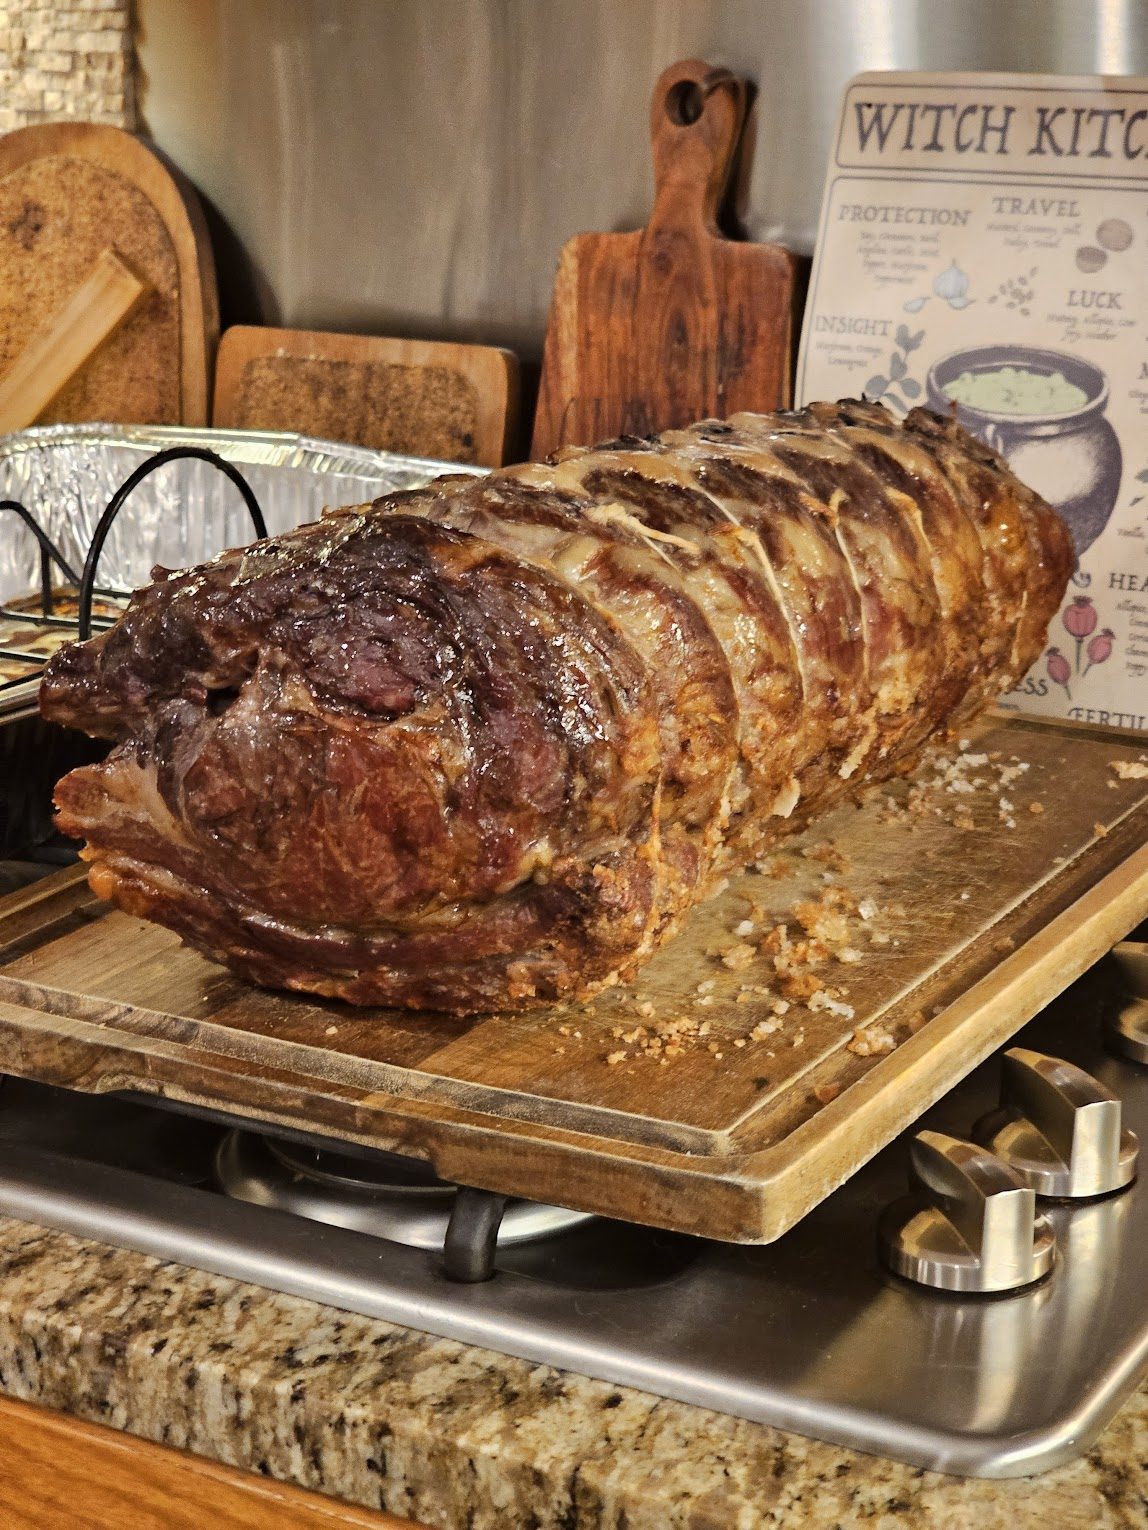
April 2026 prime rib
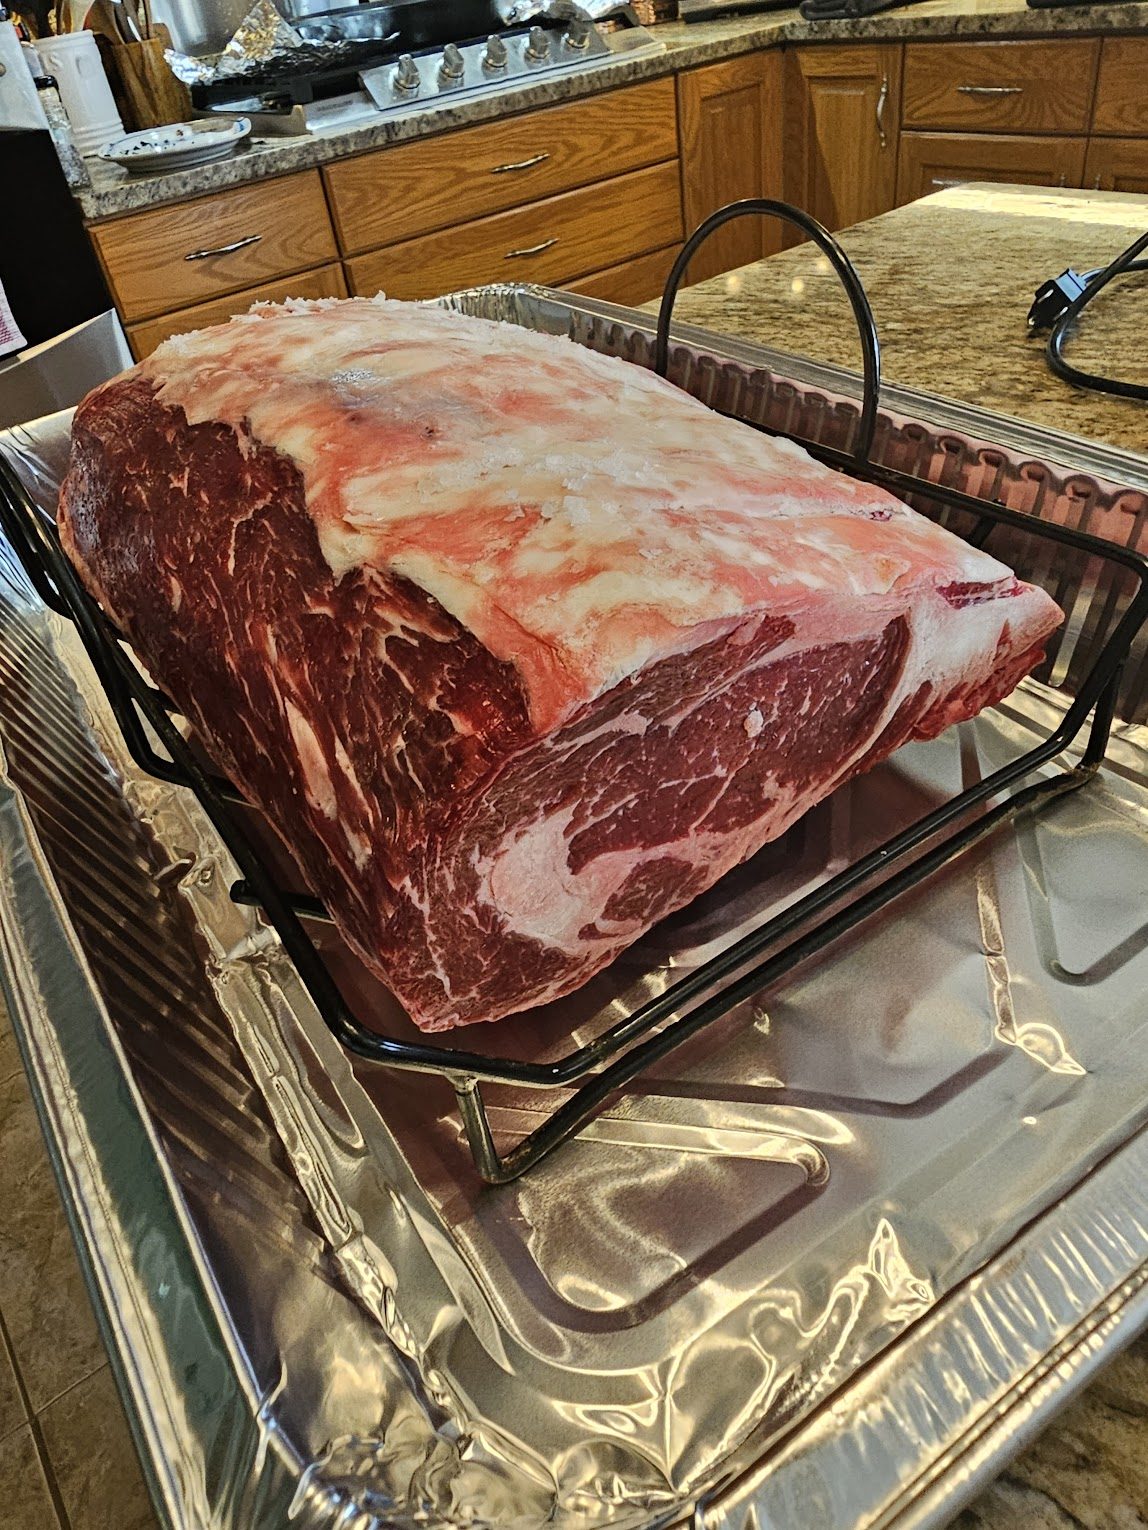
Supplemental Links
- "Perfect Prime Rib" Original Guide - My original guide, now updated to include new information
- Thoma Meat Market – Recommended butcher in Saxonburg, PA
- CuisineArt roaster with rack (paid link) – Preferred roasting setup for smaller roasts
- Aluminum trays (paid link) – Alternative setup for very large roasts
- Inkbird IBBQ-4-BW (paid link) – My WiFi meat thermometer
- 10" carving knife (paid link) – Recommended carving knife
Other Information
- Au Jus Recipe - For dipping
- Horseradish Cream Sauce - Alternate dipping sauce (a bit of a kick!)
19 Sep 2026
Au Jus Dipping Sauce for Perfect Prime Rib
18 Sep 2026 25 lb reverse-sear. Exact batch we made. Thin dip, not gravy. No flour. No soy sauce. Lea & Perrins Original Worcestershire only.
Need (dip for a 25-pounder)
- 4 cups beef stock
- ½ cup dry red wine
- 2 tsp Lea & Perrins Original Worcestershire
- a pinch of MSG
- kosher salt, black pepper
- 1 Tbsp butter (optional, off heat)
- dark juices from the rest/sear tray (skimmed)
While the roast is resting
- Stock + wine in a saucepan.
- Simmer 12–15 min, down to about 3 cups. Skim.
- Worcestershire. Pinch of MSG. Pepper. Almost no salt yet — tray juices are already salty.
- Kill the heat. Hold. Do not leave it on low (it will reduce to syrup).
After the 500°F sear
- Roast to the board.
- Skim the fat off the tray. Pour the dark juices into the saucepan. Do not deglaze a screaming-hot aluminum pan with more wine.
- Simmer 2 minutes. Taste. Salt only if it needs it.
- Off heat: 1 Tbsp butter if you want shine.
Keep it thin. Strain if you want it clear. If it tightened on the hold, a splash of stock loosens it.
Drizzle-only (not a dunk bowl): 2 cups stock, ¼ cup wine, 1 tsp L&P, still a pinch of MSG.